How to Grow Chinese Vegetables
After its launch last year, we’re bringing back our How to Grow Chinese Vegetables series! (If you’d like to check out previous posts, head to our Garden/Farm How-To section!) Each month, we’ll publish a comprehensive growing guide for a different crop, including traditional growing knowledge, recipes using the ingredient, how to deal with common challenges, harvesting tips, and more. We’ve updated this post for the 2023 growing season. We hope you follow along! The Inspiration For This Series A few years ago, we posted a vegetable garden tour, and many of you had questions about how to grow similar vegetables in your own outdoor spaces. Some of you took it a step further, suggesting that we write about growing Chinese vegetables in a home garden. We also know that many of you live in areas without Chinese markets. Growing them yourself can be a great way (or the only way) to get these delicious veggies into your kitchen! As amateur veg gardeners who’ve grown backyard vegetables for many years, we know a thing or two from starting our own seeds, harvesting our own crops, and years of non-stop consumption of a sleepy but incredibly entertaining British gardening show called Gardeners World. (Check it out, seriously.) But we’re also bringing some major outside knowledge to this series! Each of our posts will once again be a collaboration between us and Christina Chan, farmer and owner of Choy Division, a regenerative Asian vegetable and herb farm in the Hudson Valley. Christina, a second-generation Chinese-American, grew up in New York City and often felt torn between her American and Chinese identities. We can relate. For Kaitlin and I, starting The Woks of Life and diving into Chinese cooking has helped us feel more connected to our Chinese roots. For Christina, growing Asian vegetables has been a way of connecting two halves of herself. Photo credit: Choy Division Since starting Choy Division, she’s sought to increase Asian representation in the local farm scene, expand food access, and help others rediscover their connection to the land through food. Live in the Tri-state area? Check out choy division’s seedling sale & CSA!! IMPORTANT: If you live in or near New York City or the Hudson Valley, and want to jumpstart your Asian vegetable growing, Choy Division has multiple seedling sales coming up! Saturday, May 13th 2023, 10-1PMChester Agricultural Center | 168 Meadow Ave, Chester, NY 10918 Saturday, May 13th 2023 10-2PMYun Hai Taiwanese Pantry | 170 Montrose Ave, Brooklyn, NY 11206 Saturday, May 27th 2023 11-2PMPearl River Mart Foods, Chelsea Market | 75 9th Ave. (between 15th & 16th St), Main Concourse, New York, NY 10011 A limited selection of seedlings will also be available throughout May and June at Yun Hai Taiwanese Pantry in East Williamsburg and Pearl River Mart Foods in Chelsea Market. You can also pre-order online for pickup! Here’s a taste of the plants that will be available: Basil, ThaiBasil, Thai Holy Bitter MelonBok choy, shanghai green (6 pack)Cabbage, NapaCabbage, Napa (6 pack)Chamoe MelonChinese celeryCucumber, ChineseEdamameEggplant, Ping tungGarlic ChivesKkaenipLemongrassMixed herbs (cilantro, scallion, garlic chive, lemongrass, shiso, thai basil)Pepper, Hot, Korean gochu Pepper, Hot, Thai hot chiliPepper, ShishitoScallionShiso, GreenSquash, Kabocha If you don’t have an outdoor space or a green thumb, but still want access to a wide variety of delicious produce throughout the summer and fall, you can also sign up for Choy Division’s CSA, available from June to October, with pickups in Astoria, the East Village, Clinton Hill, and Chester, NY. Just look at all these incredible Asian veggies—fresh mustard greens, radish, scallions, napa, and more! Learn more on the Choy Division website. A late fall CSA share from Choy Division. Photo Credit: Choy Division About the Series Last year, we along with Christina covered the following crops, which you can explore for tips right now! This year, we will cover: June 2023: Garlic (not an exclusively Chinese ingredient, but important to Chinese cooking nonetheless!) July 2023: Thai Basil August 2023: Bitter Melon September 2023: Choy Sum October 2023: Kabocha Squash We’re growing some 60 varieties of vegetables in our garden this year, so we may throw a bonus crop or two in there as well. We hope these posts will be helpful to you in your gardens for years to come! Let’s kick things off with a few general topics that will help you get started: Where to Source Seeds and Seedlings Assessing Your Growing Conditions Seed Starting vs. Direct Seeding Garden Bed Preparation Transplanting Seedlings Growing in Containers Click any of the links above to jump to that topic in the post! Where to Source Seeds and Seedlings: If you’re looking to grow Chinese vegetables, it can be difficult to find seeds and seedlings for these specialty plants in the garden centers where you buy other plants. Seeds

After its launch last year, we’re bringing back our How to Grow Chinese Vegetables series! (If you’d like to check out previous posts, head to our Garden/Farm How-To section!)
Each month, we’ll publish a comprehensive growing guide for a different crop, including traditional growing knowledge, recipes using the ingredient, how to deal with common challenges, harvesting tips, and more.
We’ve updated this post for the 2023 growing season. We hope you follow along!
The Inspiration For This Series
A few years ago, we posted a vegetable garden tour, and many of you had questions about how to grow similar vegetables in your own outdoor spaces. Some of you took it a step further, suggesting that we write about growing Chinese vegetables in a home garden.
We also know that many of you live in areas without Chinese markets. Growing them yourself can be a great way (or the only way) to get these delicious veggies into your kitchen!
As amateur veg gardeners who’ve grown backyard vegetables for many years, we know a thing or two from starting our own seeds, harvesting our own crops, and years of non-stop consumption of a sleepy but incredibly entertaining British gardening show called Gardeners World. (Check it out, seriously.)
But we’re also bringing some major outside knowledge to this series! Each of our posts will once again be a collaboration between us and Christina Chan, farmer and owner of Choy Division, a regenerative Asian vegetable and herb farm in the Hudson Valley.
Christina, a second-generation Chinese-American, grew up in New York City and often felt torn between her American and Chinese identities. We can relate. For Kaitlin and I, starting The Woks of Life and diving into Chinese cooking has helped us feel more connected to our Chinese roots. For Christina, growing Asian vegetables has been a way of connecting two halves of herself.
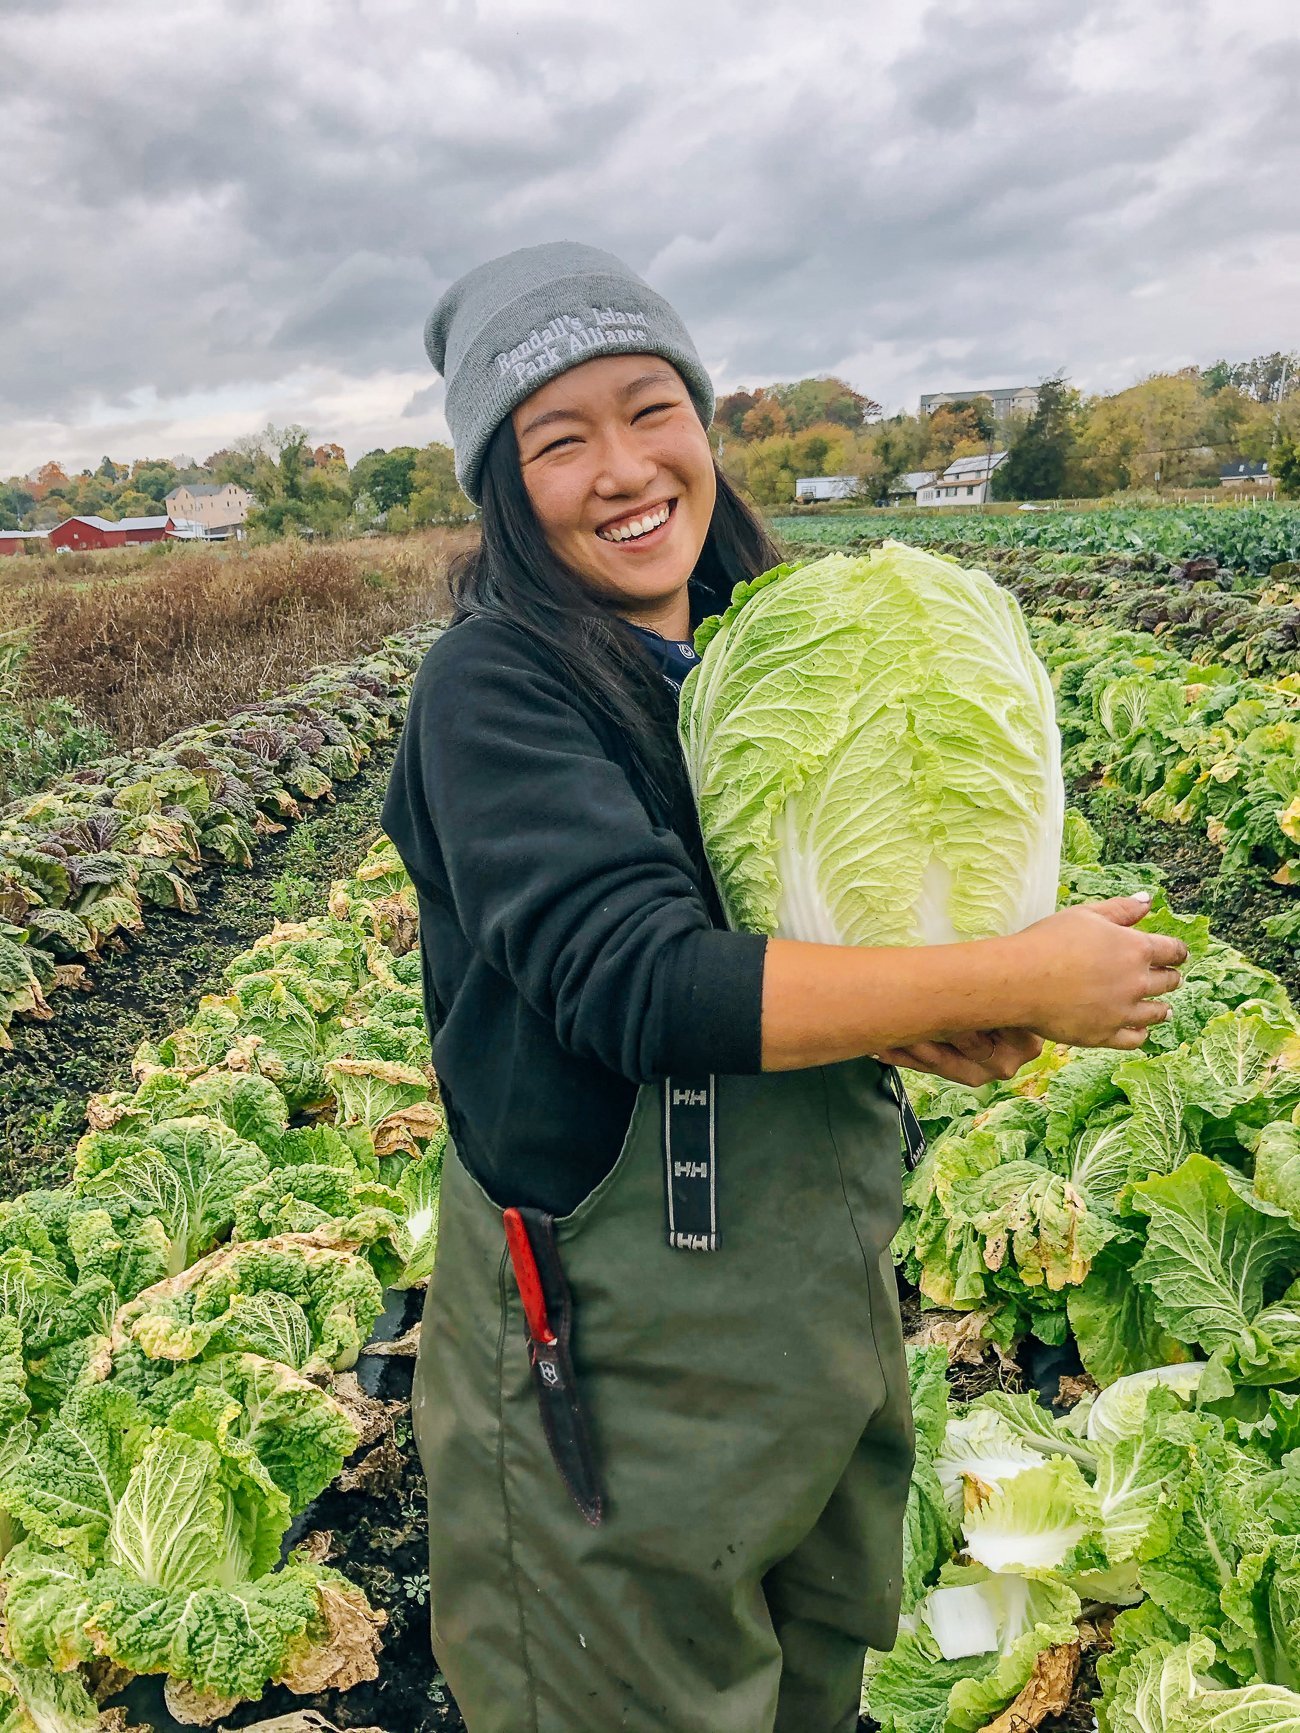
Since starting Choy Division, she’s sought to increase Asian representation in the local farm scene, expand food access, and help others rediscover their connection to the land through food.
Live in the Tri-state area? Check out choy division’s seedling sale & CSA!!
IMPORTANT: If you live in or near New York City or the Hudson Valley, and want to jumpstart your Asian vegetable growing, Choy Division has multiple seedling sales coming up!
Saturday, May 13th 2023, 10-1PM
Chester Agricultural Center | 168 Meadow Ave, Chester, NY 10918
Saturday, May 13th 2023 10-2PM
Yun Hai Taiwanese Pantry | 170 Montrose Ave, Brooklyn, NY 11206
Saturday, May 27th 2023 11-2PM
Pearl River Mart Foods, Chelsea Market | 75 9th Ave. (between 15th & 16th St), Main Concourse, New York, NY 10011
A limited selection of seedlings will also be available throughout May and June at Yun Hai Taiwanese Pantry in East Williamsburg and Pearl River Mart Foods in Chelsea Market. You can also pre-order online for pickup!
Here’s a taste of the plants that will be available:
Basil, Thai
Basil, Thai Holy
Bitter Melon
Bok choy, shanghai green (6 pack)
Cabbage, Napa
Cabbage, Napa (6 pack)
Chamoe Melon
Chinese celery
Cucumber, Chinese
Edamame
Eggplant, Ping tung
Garlic Chives
Kkaenip
Lemongrass
Mixed herbs (cilantro, scallion, garlic chive, lemongrass, shiso, thai basil)
Pepper, Hot, Korean gochu
Pepper, Hot, Thai hot chili
Pepper, Shishito
Scallion
Shiso, Green
Squash, Kabocha
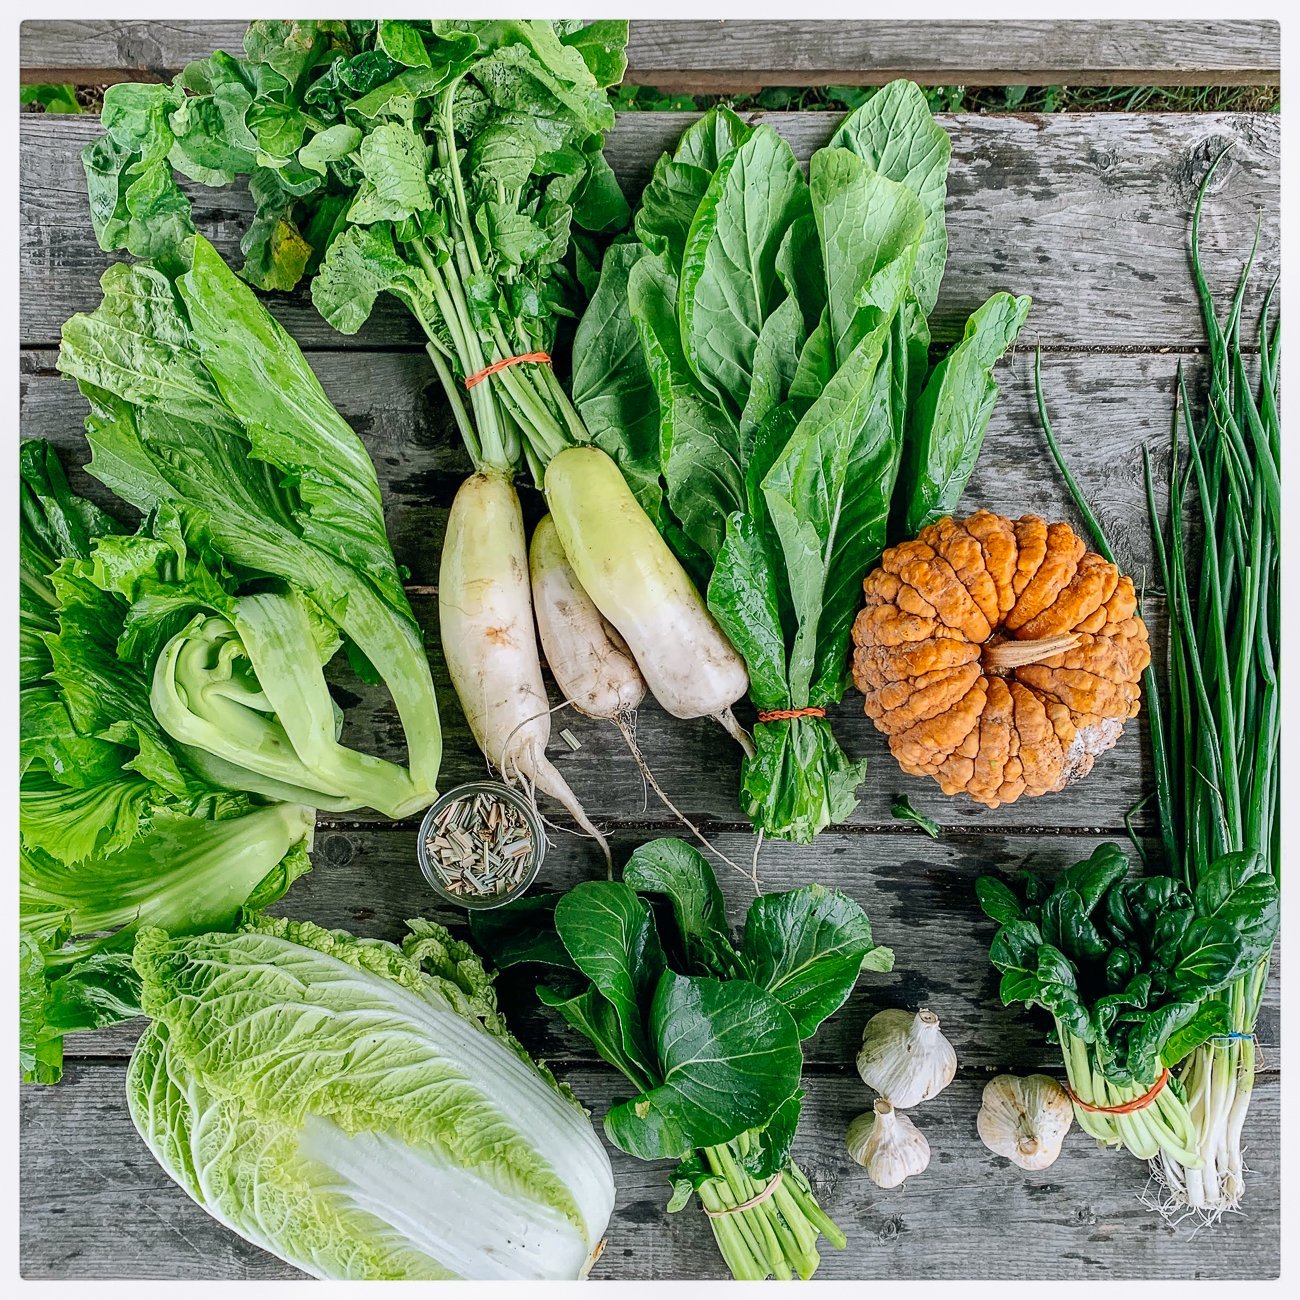
If you don’t have an outdoor space or a green thumb, but still want access to a wide variety of delicious produce throughout the summer and fall, you can also sign up for Choy Division’s CSA, available from June to October, with pickups in Astoria, the East Village, Clinton Hill, and Chester, NY. Just look at all these incredible Asian veggies—fresh mustard greens, radish, scallions, napa, and more! Learn more on the Choy Division website.
About the Series
Last year, we along with Christina covered the following crops, which you can explore for tips right now!
This year, we will cover:
- June 2023: Garlic (not an exclusively Chinese ingredient, but important to Chinese cooking nonetheless!)
- July 2023: Thai Basil
- August 2023: Bitter Melon
- September 2023: Choy Sum
- October 2023: Kabocha Squash
We’re growing some 60 varieties of vegetables in our garden this year, so we may throw a bonus crop or two in there as well. We hope these posts will be helpful to you in your gardens for years to come!
Let’s kick things off with a few general topics that will help you get started:
Where to Source Seeds and Seedlings
Assessing Your Growing Conditions
Seed Starting vs. Direct Seeding
Garden Bed Preparation
Transplanting Seedlings
Growing in Containers
Click any of the links above to jump to that topic in the post!
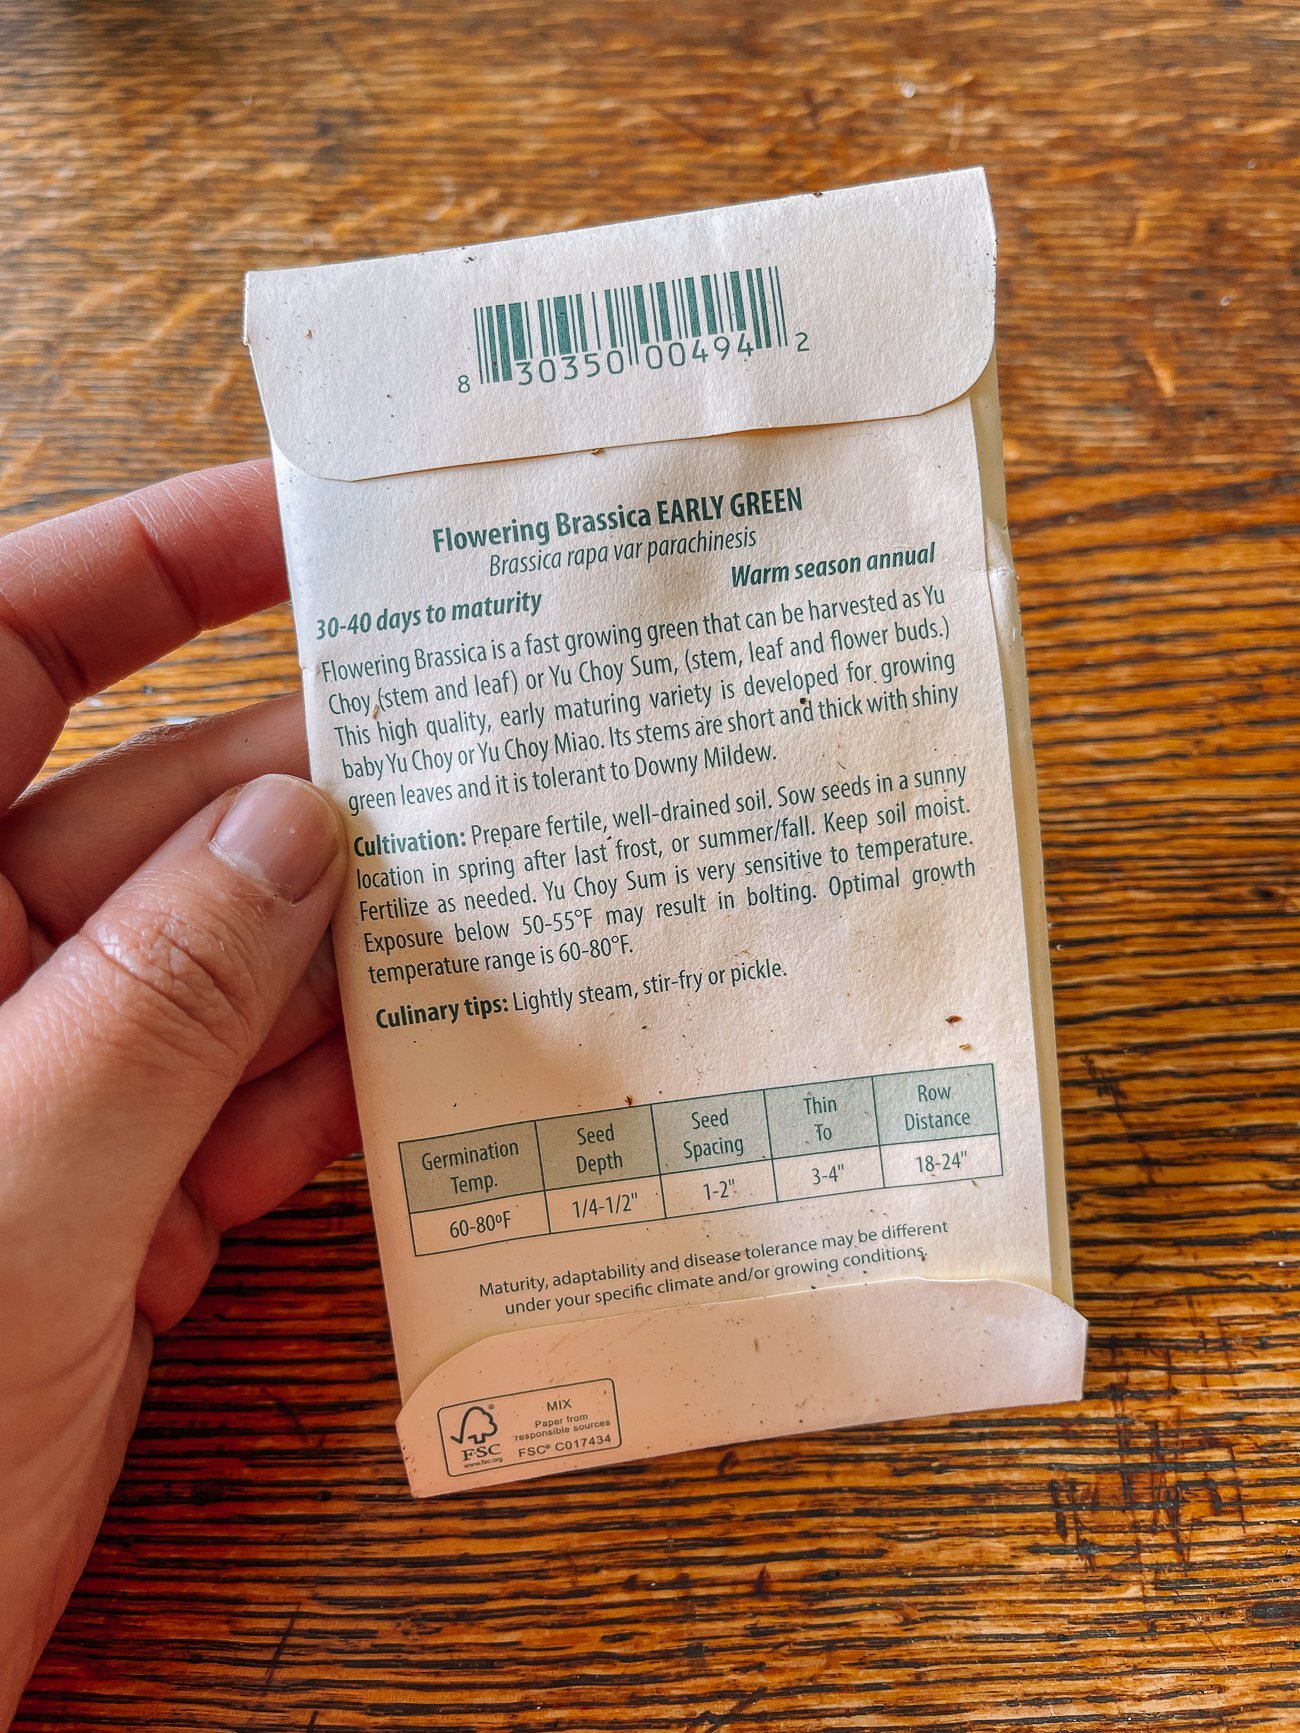
Where to Source Seeds and Seedlings:
If you’re looking to grow Chinese vegetables, it can be difficult to find seeds and seedlings for these specialty plants in the garden centers where you buy other plants.
Seeds
One great way to access these plants is to grow them from seed yourself.
This has the advantage of being cheaper—you can get a large volume of plants for a few bucks for a pack of seeds. Plus, it allows you to choose exactly what varieties to grow. That said, this method is a bit more labor intensive.
Here are Christina’s recommended sources for Asian vegetable seeds:
- Second Generation Seeds
- New Asian-owned seed company putting seed and plant development into the hands of growers and eaters
- Preserves and shares seed stories
- Kitazawa
- No longer Asian owned, but still has the largest variety of Asian seeds available
- TrueLove Seeds
- Works with small farms across the U.S. to steward their seed collection
- Focus on BIPOC community
- Preserves and shares seed stories
- Hudson Valley Seed Company
- Great small local seed company in the New York area
- Johnny’s Selected Seeds
- A favorite of small farms
We’ve also found seeds from this source in the past:
Also check out Seed Stewards, a collective of Asian American growers (farmers, gardeners, growers of all stages) who are working together to share their experiences growing different crops, saving seed and crop stories, and discussions with chefs about recipes and culinary history.
It’s a forum that anyone can join and an excellent resource to expand growing knowledge and ask questions!
Seedlings
If you don’t feel like doing the work of growing your own seedlings or you’re starting your garden later in the season and need plants now, you can also source young seedlings for some of these plants to grow in your garden.
The advantage of this is that you can get existing plants later in the season if you didn’t have time to grow seedlings on yourself. You also don’t have to invest in equipment like seed trays, heated mats, seed starting mix, and grow lights.
That said, the disadvantage is that you can only buy the varieties available in your area, and choice may be limited.
Generally, we find Asian vegetable seedlings in mid- to late-spring in Korean, Chinese, and other Asian grocery stores. It would be right around this time of year, depending on your region—I just saw seedlings at our local Chinese market.
If you can find local growers that run seedling sales for Asian vegetables, even better! Check out Choy Division’s Seedling Sale if you’re in the New York area!
Assessing Your Growing Conditions
Determining Your Frost Dates & Hardiness Zone
Depending on where you live, you may have a different timeline than we do for when to put plants in the ground. If you live in warmer climates, you’ll start your growing season earlier. In cooler climates, plants go in the ground later in the year.
Generally, the most important dates to determine are your average first and last frost dates. The number of days in between are your “frost-free growing days.”
You can also determine your USDA Plant Hardiness Zone (see this USDA Plant Hardiness Zone Map), which can help you determine which plants will thrive in your area, and which plants will struggle.
This is also super useful for determining the types of perennial plants that will overwinter in your area. We’re in Zone 6b, while the Choy Division Farm is in Zone 6a.
Leafy greens, for instance, generally like cooler temperatures, and may bolt (set seed) if you plant them too late and temperatures rise. Likewise, if you plant them too early, an overnight frost may kill tender young plants.
Furthermore, if planting for a fall harvest, don’t plant frost-tender plants too close to your last frost date, because they may not mature in time!
Considering Each Crop’s Number of Days to Maturity
That brings us to the importance of considering “days to maturity.”
A good seed packet will tell you how many days it will take for your crop to be ready to harvest, also known as the number of days to maturity (DTM).
For example, if your pepper variety has a DTM of 70 days and you plant your seedling into the ground on June 1st, you can expect to start harvesting in early August.
Compare your DTM to your number of frost free growing days, and you can determine what crops you can grow in your area, and when to put them in the ground.
The DTM should fall within your frost-free range. You can work backwards to determine the latest possible date you can plant a summer crop, and then start earlier (usually by starting seeds indoors several weeks before your last frost date) to get the longest possible harvest.
Here’s another example from Christina:
Your predicted first frost date is October 1st. The latest you can plant your pepper with 70 DTM is the end of July. In this case, your plant will thrive until then, but you might not get much of a harvest, because it’s only putting out its first fruit set by the time the frost comes. Conversely, if you plant it out at the start of June, you will have a harvest for almost 3 months!
For crops that bear a single harvest, you can sow seeds in succession, and put new plants in the ground to replace the ones you’ve already harvested.
A Note on DTM
There is some variability in DTM depending on what time of year you are planting:
- In spring, your DTM will be on the longer end of the range due to colder temps and shorter days.
- In summer/early fall, DTM will be shorter due to warmer temps and longer days.
Other Variables: Soil, Sunshine, Heat & Water
Soil Conditions
If you are planting vegetables into an existing bed or directly into the soil in your backyard, (rather than a bagged potting mix or compost), we suggest doing a soil test to determine your soil pH and nutrient levels.
You can purchase a soil test kit from a garden center, or have a sample sent out to a lab to be tested.
This will help determine what amendments you may need to make to your soil before planting, and which plants will thrive in certain areas of your garden.
Sunshine
Some plants like very sunny conditions, while some are tolerant to part shade. If you have a very shady garden, it may be difficult for many vegetables to grow well.
Length of daylight is another important and often overlooked factor in a plant’s success! Most, if not all, plants thrive in longer daylight conditions. More time to photosynthesize, right?
Water
Keep soil moist, but not soggy. Also, be sure to pay attention to how you’re watering!
For leafy greens, overhead watering is fine, but water close to the base of the plant for fruiting crops like peppers, eggplant, and tomatoes. This prevents mold or disease from forming on fruits or leaves.
Heat
Some plants like it hot, others not so much.
General rule of thumb: leafy greens prefer cooler and more moderate temperatures, and fruiting crops prefer it hotter, but even they have an upper limit. Chilies in particular love heat!
Seed Starting vs. Direct Seeding
There are two ways to start your garden: starting plants from seed and then transplanting them into the garden, or direct seeding into the ground.
Seed Starting
There are advantages to starting your seeds in trays and then transplanting them out into the garden:
- you’re giving seedlings a weed-free, pest-free environment to establish and grow strongly before planting them out into the garden (stronger plants will be less vulnerable to slugs and snails, for instance)
- You can also start plants indoors relatively early in a frost-free environment, and then have strong plants to plant out once the weather warms. This will get you earlier harvests and can help extend your growing season.
You can repurpose many vessels into seed starting containers—just make sure to poke holes in the bottom of any container for drainage.
Christina likes egg cartons—remove the top lid (we like to place it under the bottom of the egg cups as a drip tray) and poke a hole in the base of each egg cup for drainage.
You want to avoid planting seeds into containers that are too big, because they hold a lot of moisture, and your plants won’t yet have a strong root system to draw all that water out.
We also like using the plastic boxes that mushrooms come in, plastic strawberry boxes, or really any container you can poke holes in with a couple inches of depth. We even repurposed styrofoam takeout containers this year.
In these trays, we sow multiple seeds, which we can then thin out later.
Another great idea is to go to your local garden center, and look for recycled seed trays.
Our local Home Depot has a shelf with used seed trays and small pots that are offered for free—we picked up a bunch, hosed them off, and used the trays for our seedlings, and the small pots for potting the seedlings in once they’d gotten a bit bigger.
If you’re buying flowers or any other small plants, save the trays and pots they came in! If you really get into growing your own plants from seed, you’ll want to re-use these useful tools rather than throwing them away.
How to Start Seeds Indoors
Here are Christina’s instructions for starting seeds:
- Grab your appropriately sized planting vessel with drainage holes.
- Fill to the top with a good quality potting mix or sterile seed starting mix. If not filled entirely, the container will cast shade onto the seedling and stunt growth.
- Use your finger or a pen and make an indent about ¼- to ½-inch deep (a good rule of thumb is to make a hole about 2X the diameter of the seed).
- Drop one seed per hole (some people drop 2 seeds and then thin down to 1 strong seedling, but this is optional).
- Lightly cover the seeds with additional soil, and level it out. This not only ensures the seed makes contact with the soil, it also prevents mounds and valleys that will cause water to pool.
- Water the seedlings. If the seeds are very small, you can bottom-water them by placing the seed tray into a tray of water, so the water can soak into the soil from below without disturbing the seeds.
- Label with the crop, variety, and date.
- Place in a sunny, warm location to germinate.
Having started many of our own seeds this season, we highly recommend heated mats, which help speed germination. You can also cover the seeds with a clear plastic cover to help create the humidity needed for germination. We used recycled clear plastic salad boxes for this!
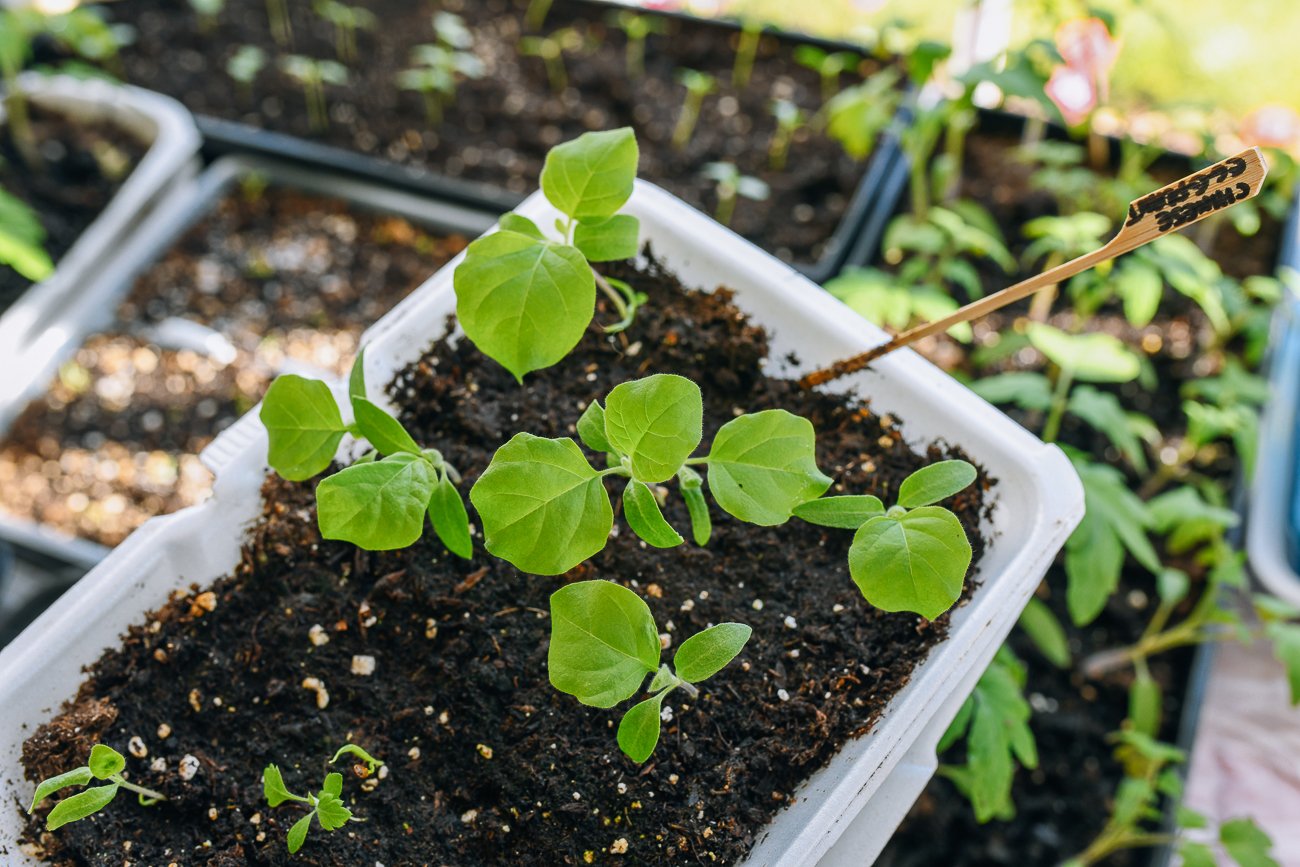
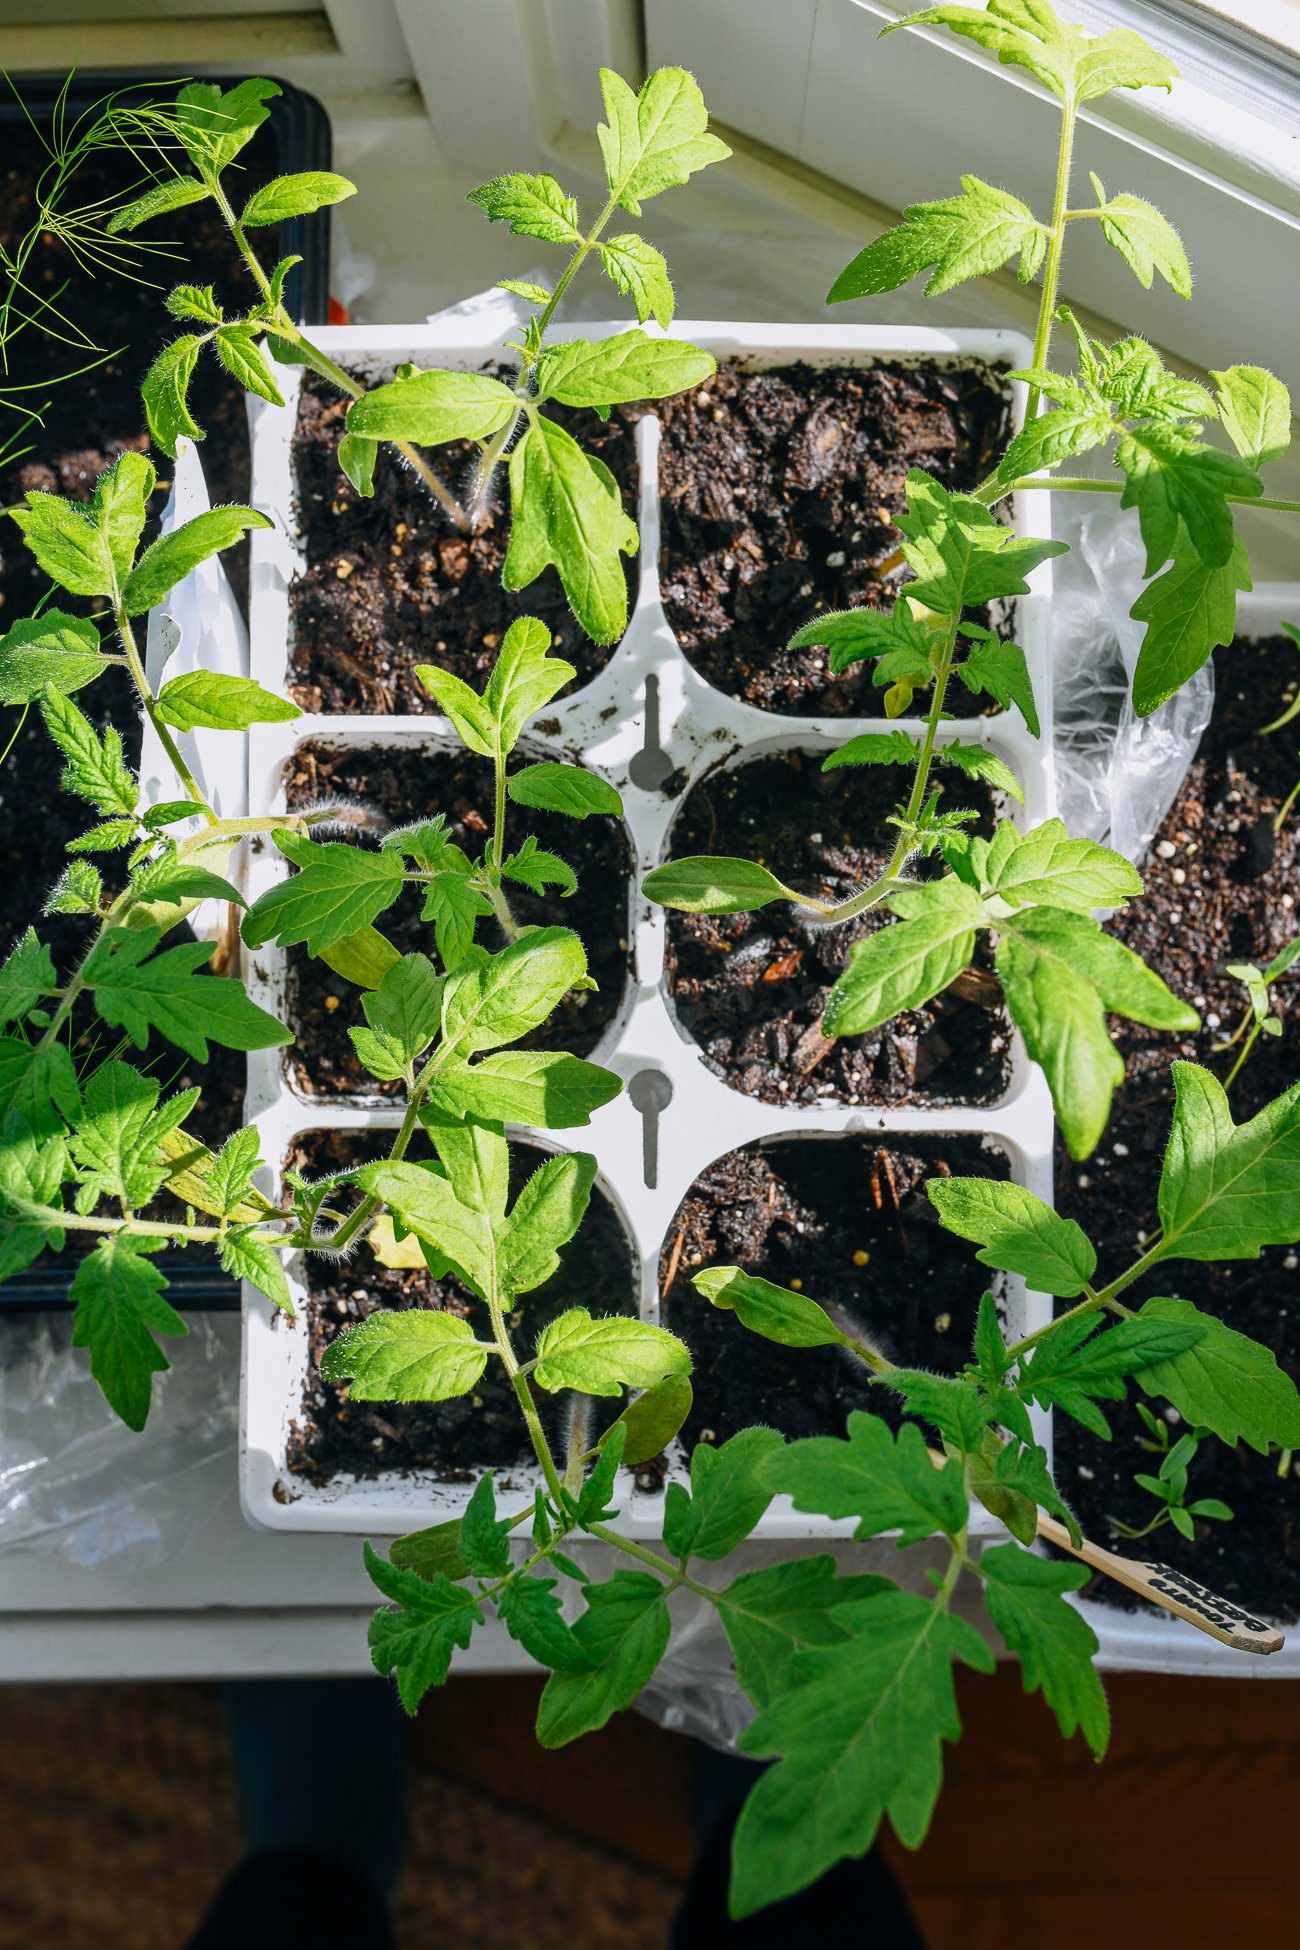
Once the seedlings emerge, remove them from the heat mat, and take off the cover. The first leaves to emerge are known as the seed leaves, or cotyledons.
The second set of leaves are known as “true leaves” and will be more recognizable to you as the plant you’ve chosen.
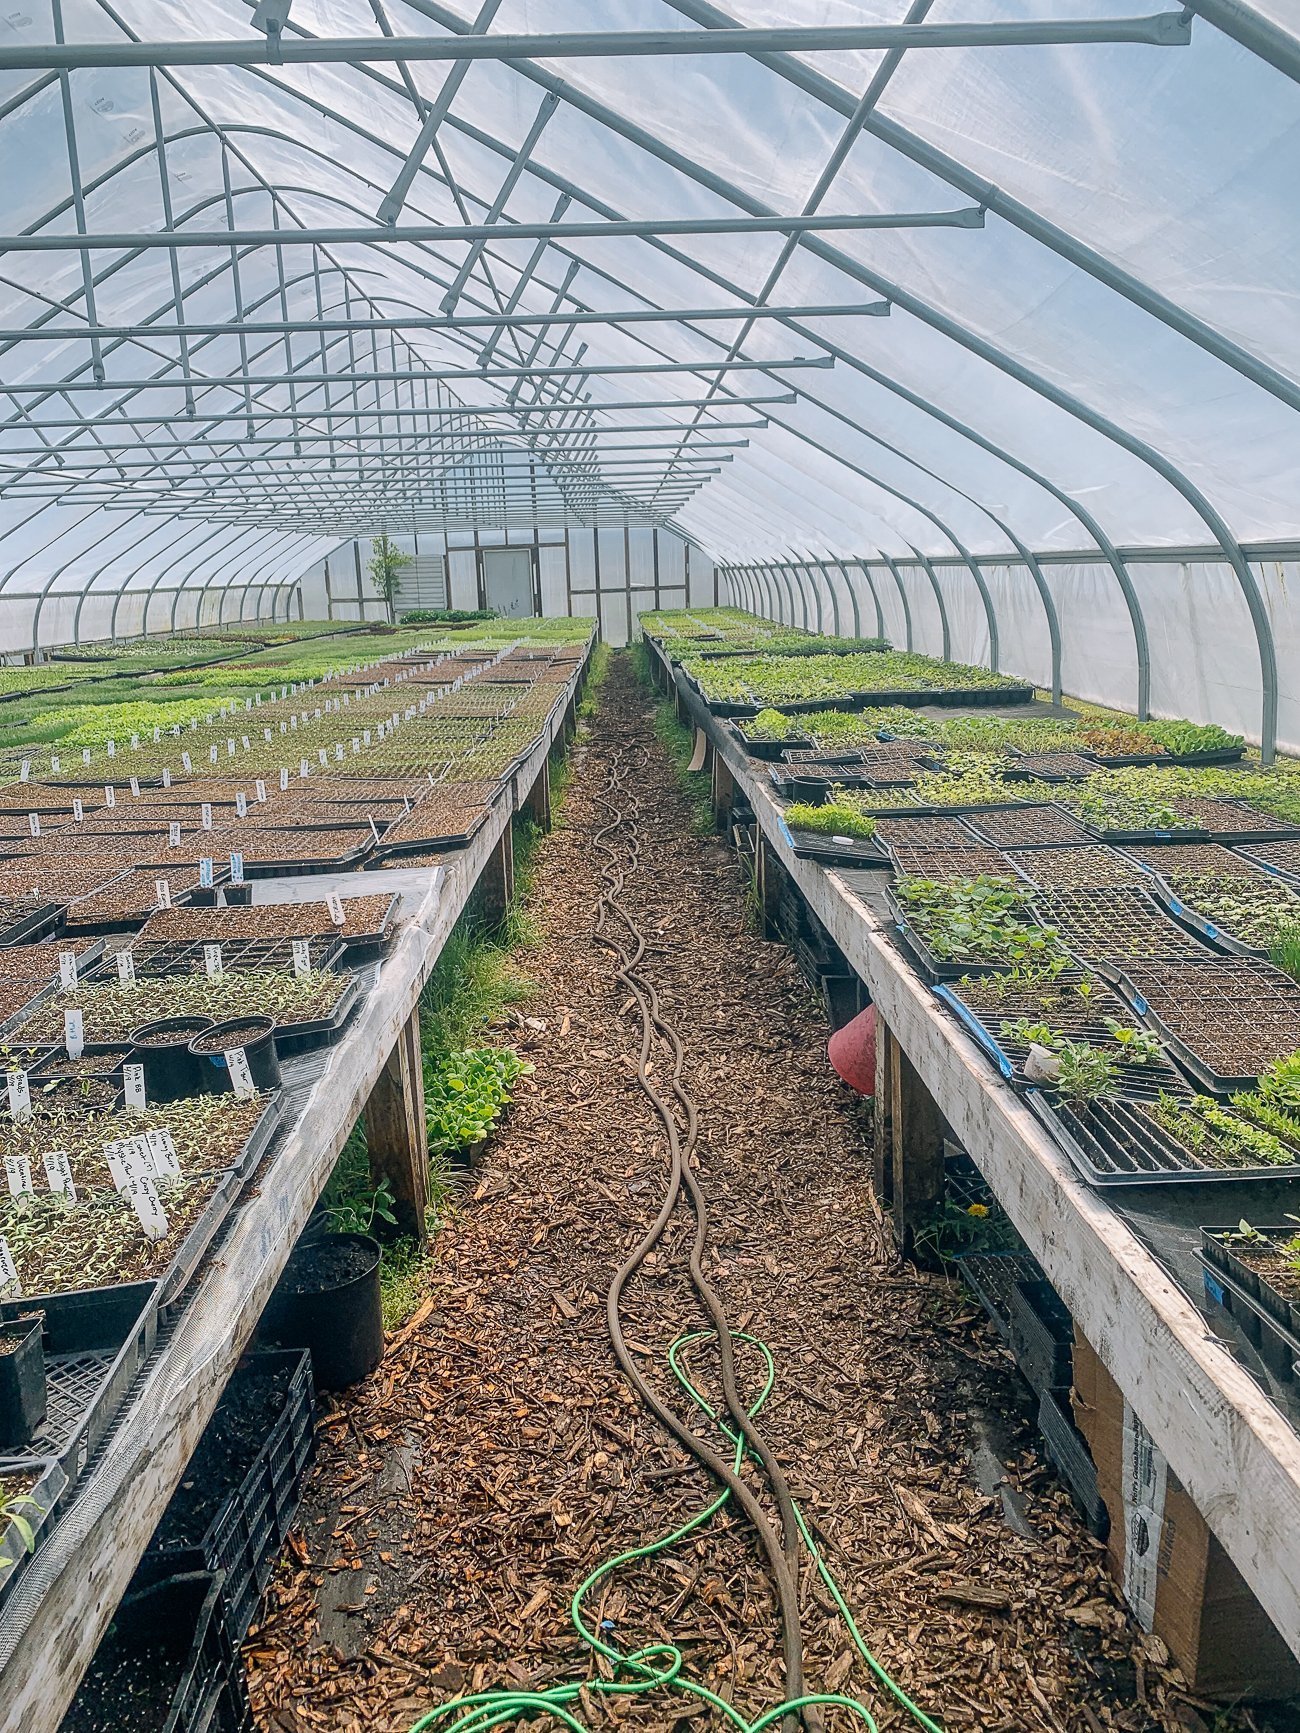
At this point, it is imperative that the seedlings have plenty of light to grow strongly. If you have a greenhouse, great! If not (I’d say that’s the vast majority of us!), grow lights are the best choice.
We have a very sunny room in our house, and thought last year that a table right in front of a south-facing wall of windows would be sufficient.
However, many of our seedlings grew leggy (their stems grew long and lanky as the plants tried to stretch towards light), and we ended up planting them out a bit earlier than we should have to get them out of their trays.
This year, we invested in grow lights, which were relatively inexpensive, and our seedlings are much stubbier and healthier.
As they grow, keep the seedlings moist, but not soggy. It’s also a good idea to have them in an area where temperatures are cooler (but not too cold!), like a basement (which also makes those grow lights necessary).
There should also be some ventilation. A light breeze will help the seedlings grow stronger and “harder.”
Plants left in a warm, still room will grow weak and tender stems/foliage. Some say that running your hands over the seedlings every now and then simulates a light breeze. Others keep a fan blowing (at a good distance, to avoid damaging the seedlings) or a window open.

Direct Seeding
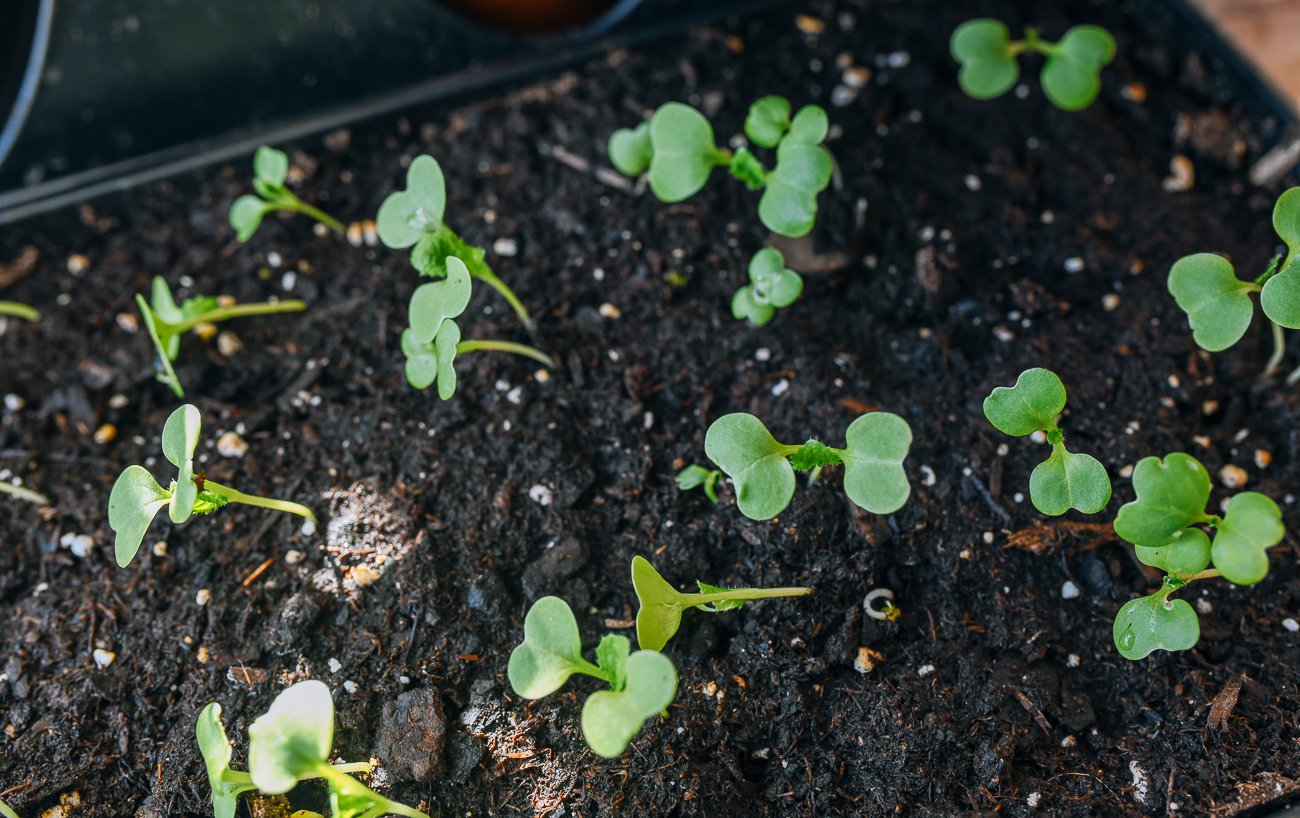
Some plants, on the other hand, can be seeded directly into the soil.
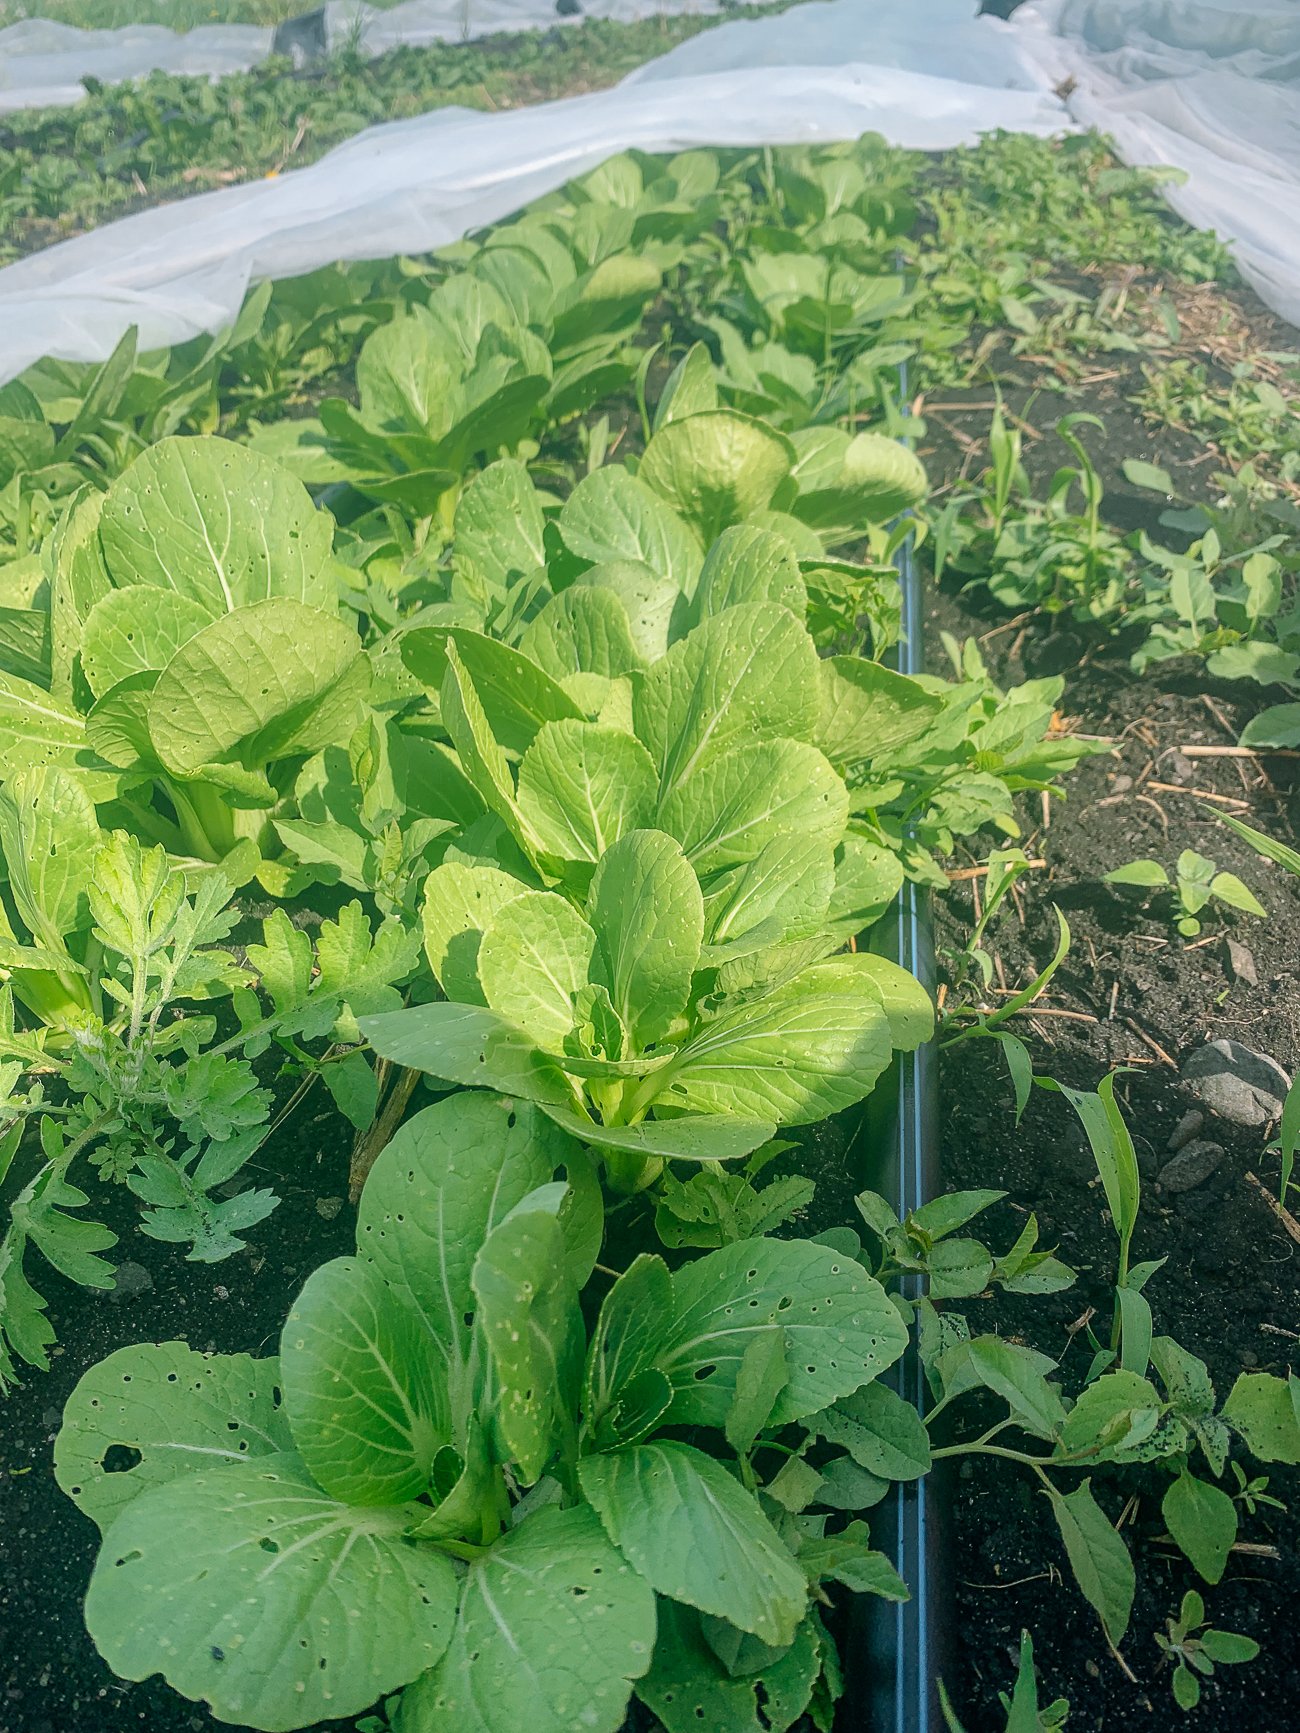
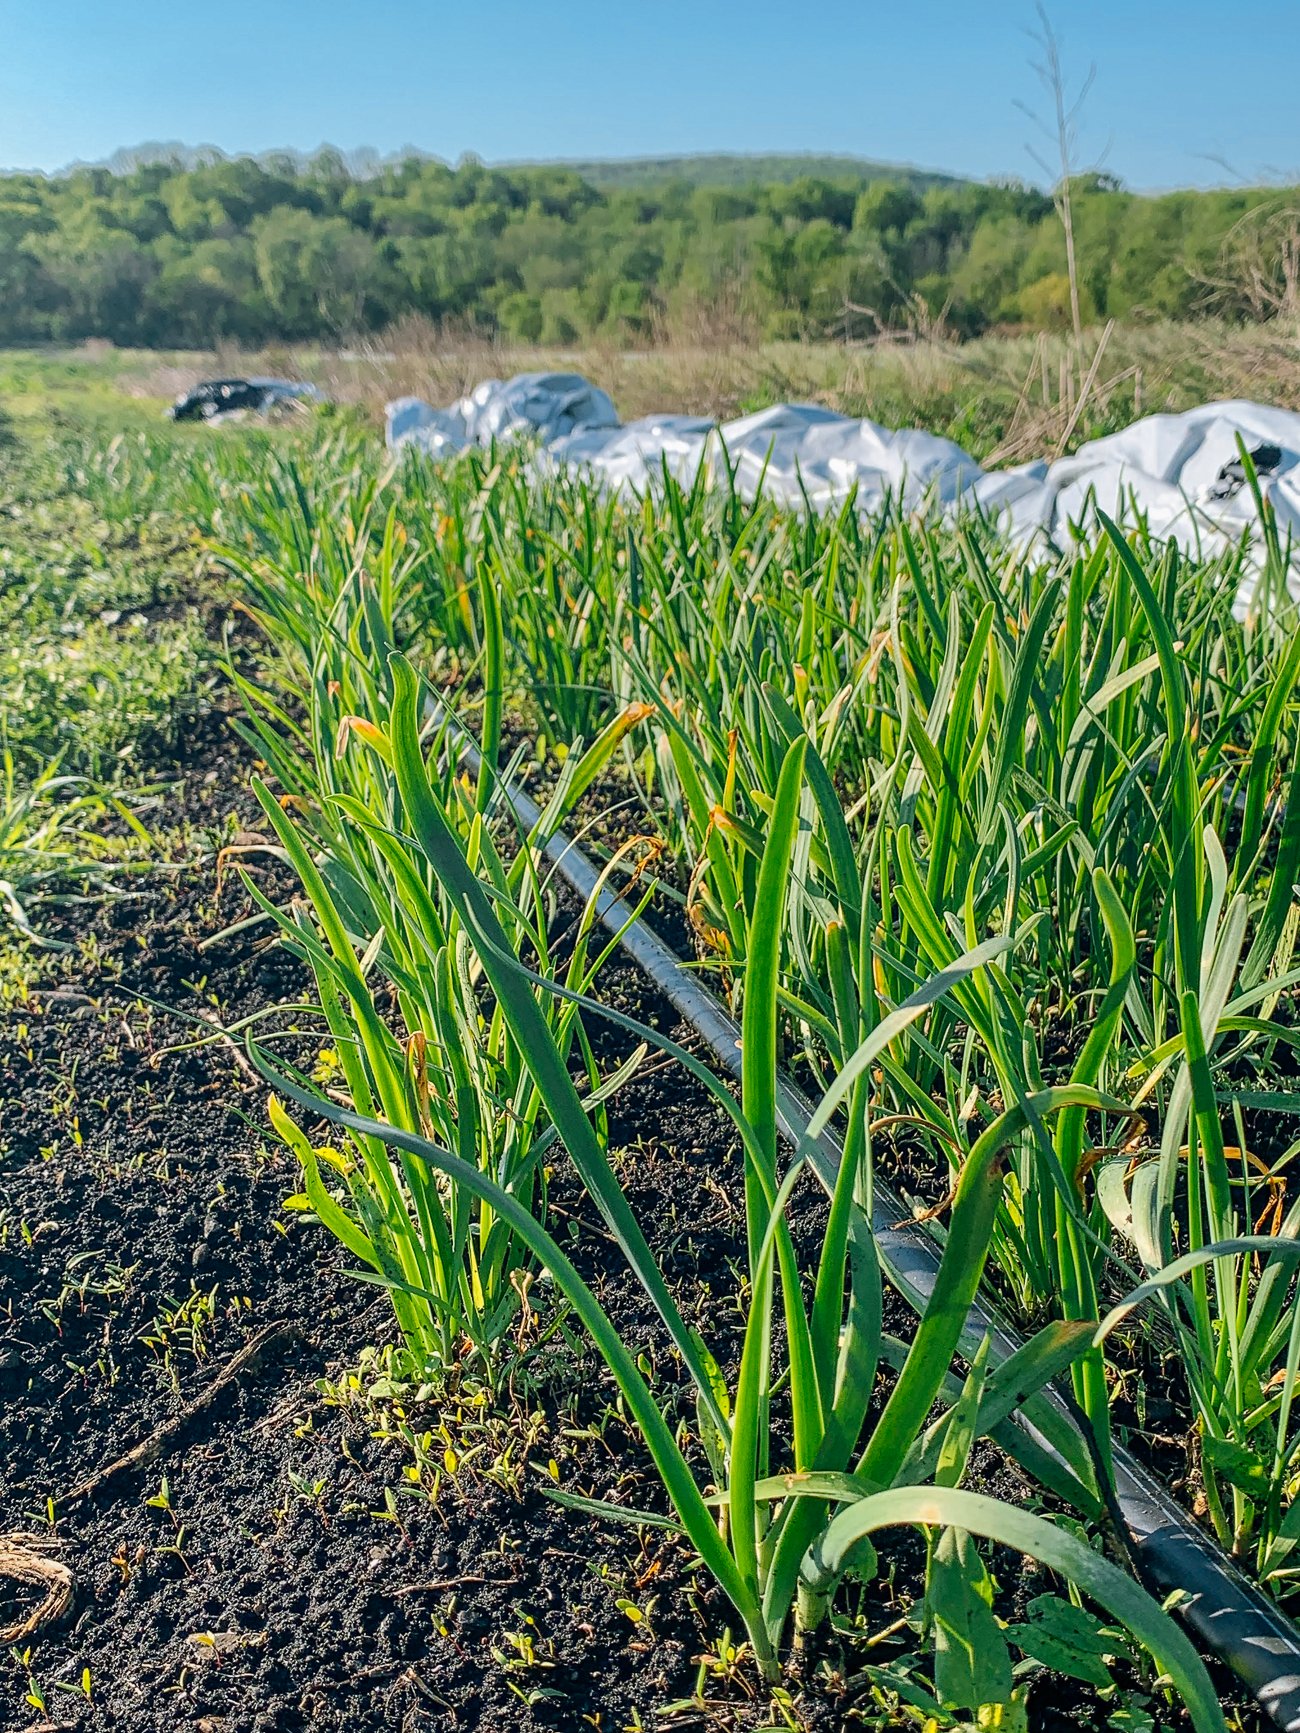
Direct seeding involves planting seeds into the ground or large container. This is ideal for crops like radishes, carrots, beets, any root vegetable. It can also be used for leafy greens, squashes, beans, and herbs.
How to Direct Seed
Here are Christina’s instructions for direct seeding:
- In your garden bed or container, create a furrow where you want the seeds to go. It can be a straight line, a spiral, any shape you like.
- Drop the seeds in, leaving space between each one. Spacing directions should be listed on the seed packet.
- Alternatively, you can plant many seeds and then thin out (remove) the extra seedlings. Thinning is very important to ensure your crop will thrive. Crowded conditions will lead to a poor quality harvest. It is better to remove many so that a few can flourish.
- Cover seeds with soil, label your row, and water thoroughly!
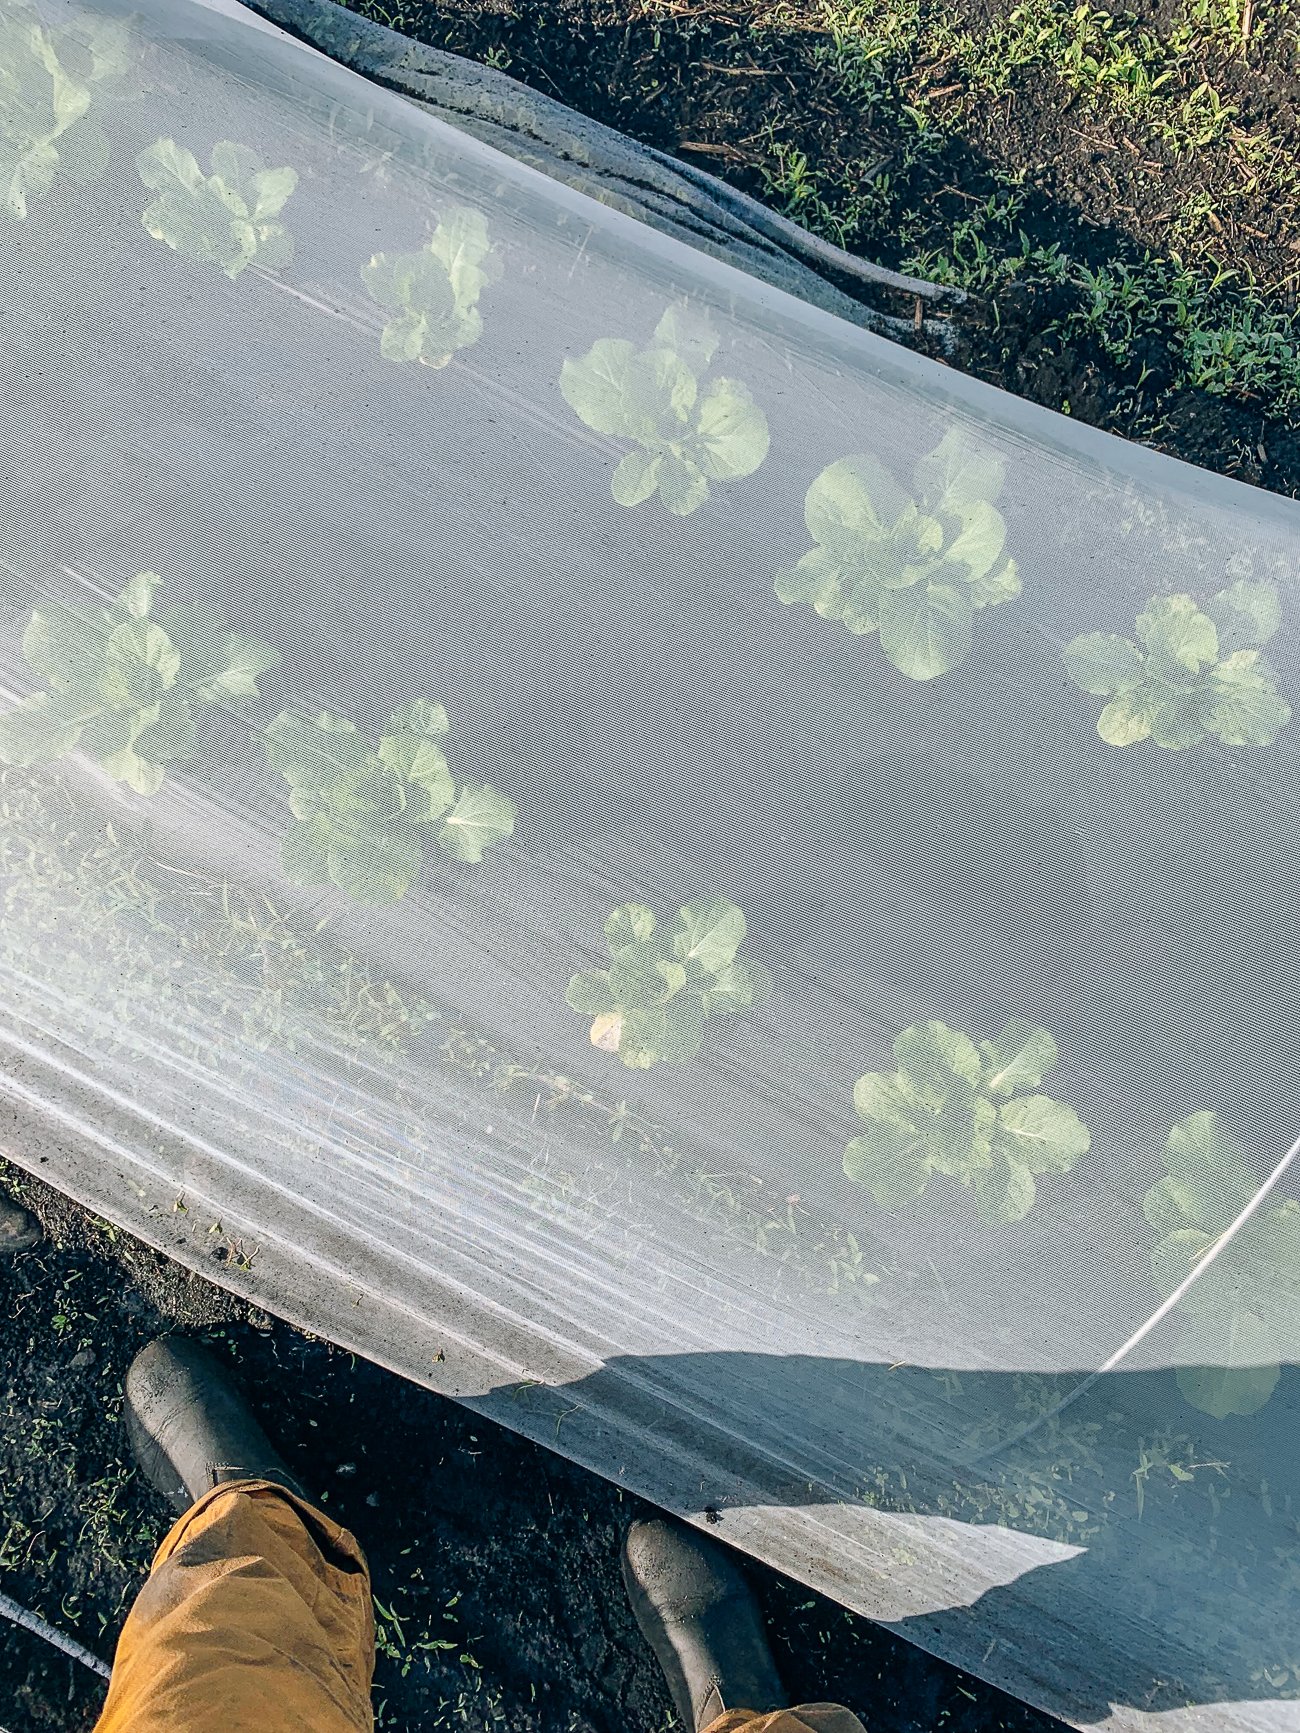
- Watch for signs of pests. Use floating row cover or light bed sheets to cover at night if needed.
Garden Bed Preparation
Here are Christina’s steps for preparing a garden bed for planting vegetables:
- Clear planting area of any old debris or mulch.
- Weed the area by hand for big weeds, and go over the area with a hoe to get all the small ones.
- If you have a pitchfork or broad fork, it’s helpful in loosening heavy or clay soils. Otherwise, grab a rake and use it to loosen the soil and break up clumps and compacted areas. (We differ from Christina on this point. We decided to go with a no-dig approach, so since digging out perennial weeds last year, we have not disturbed the soil this year. We just hand-weeded the beds, and added a layer of compost on top. This keeps the soil structure underneath intact, and suppresses weed growth.)
- If you have access to it, add a 1 to 3-inch (3-8cm) layer of compost on top of the growing beds. This should leave you with a nice and loose texture for planting and plenty of nutrients for new seedlings to thrive!
There are many schools of thought on this, from no-dig methods that aim to ensure that soil structure stays intact, to building raised beds, to more intensive mulching with garden compost to add nutrients back into the soil.
The method that works best for your garden will depend on your space and your soil conditions. We’ve found The Vegetable Gardeners Bible and Charles Dowding’s Organic Gardening: The Natural No-Dig Way to be helpful resources!
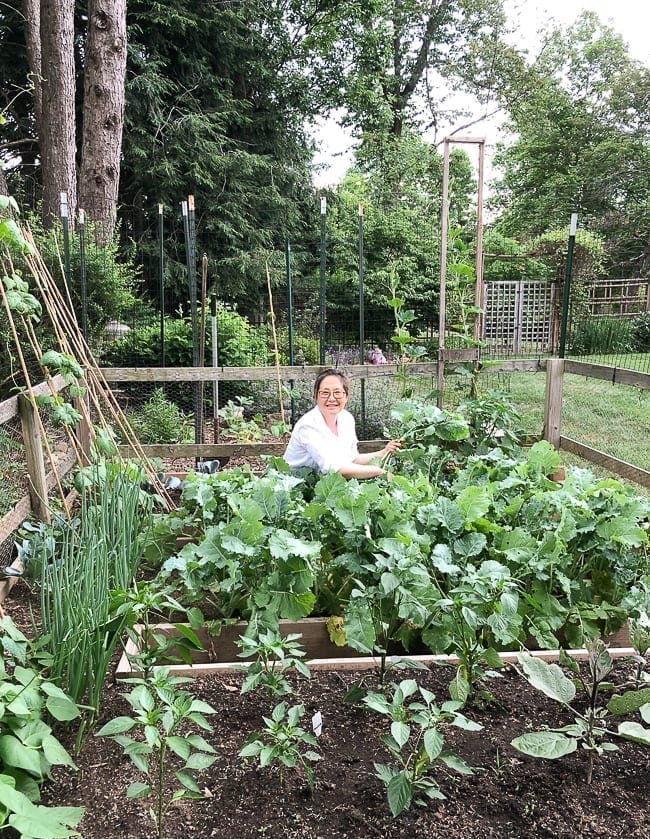
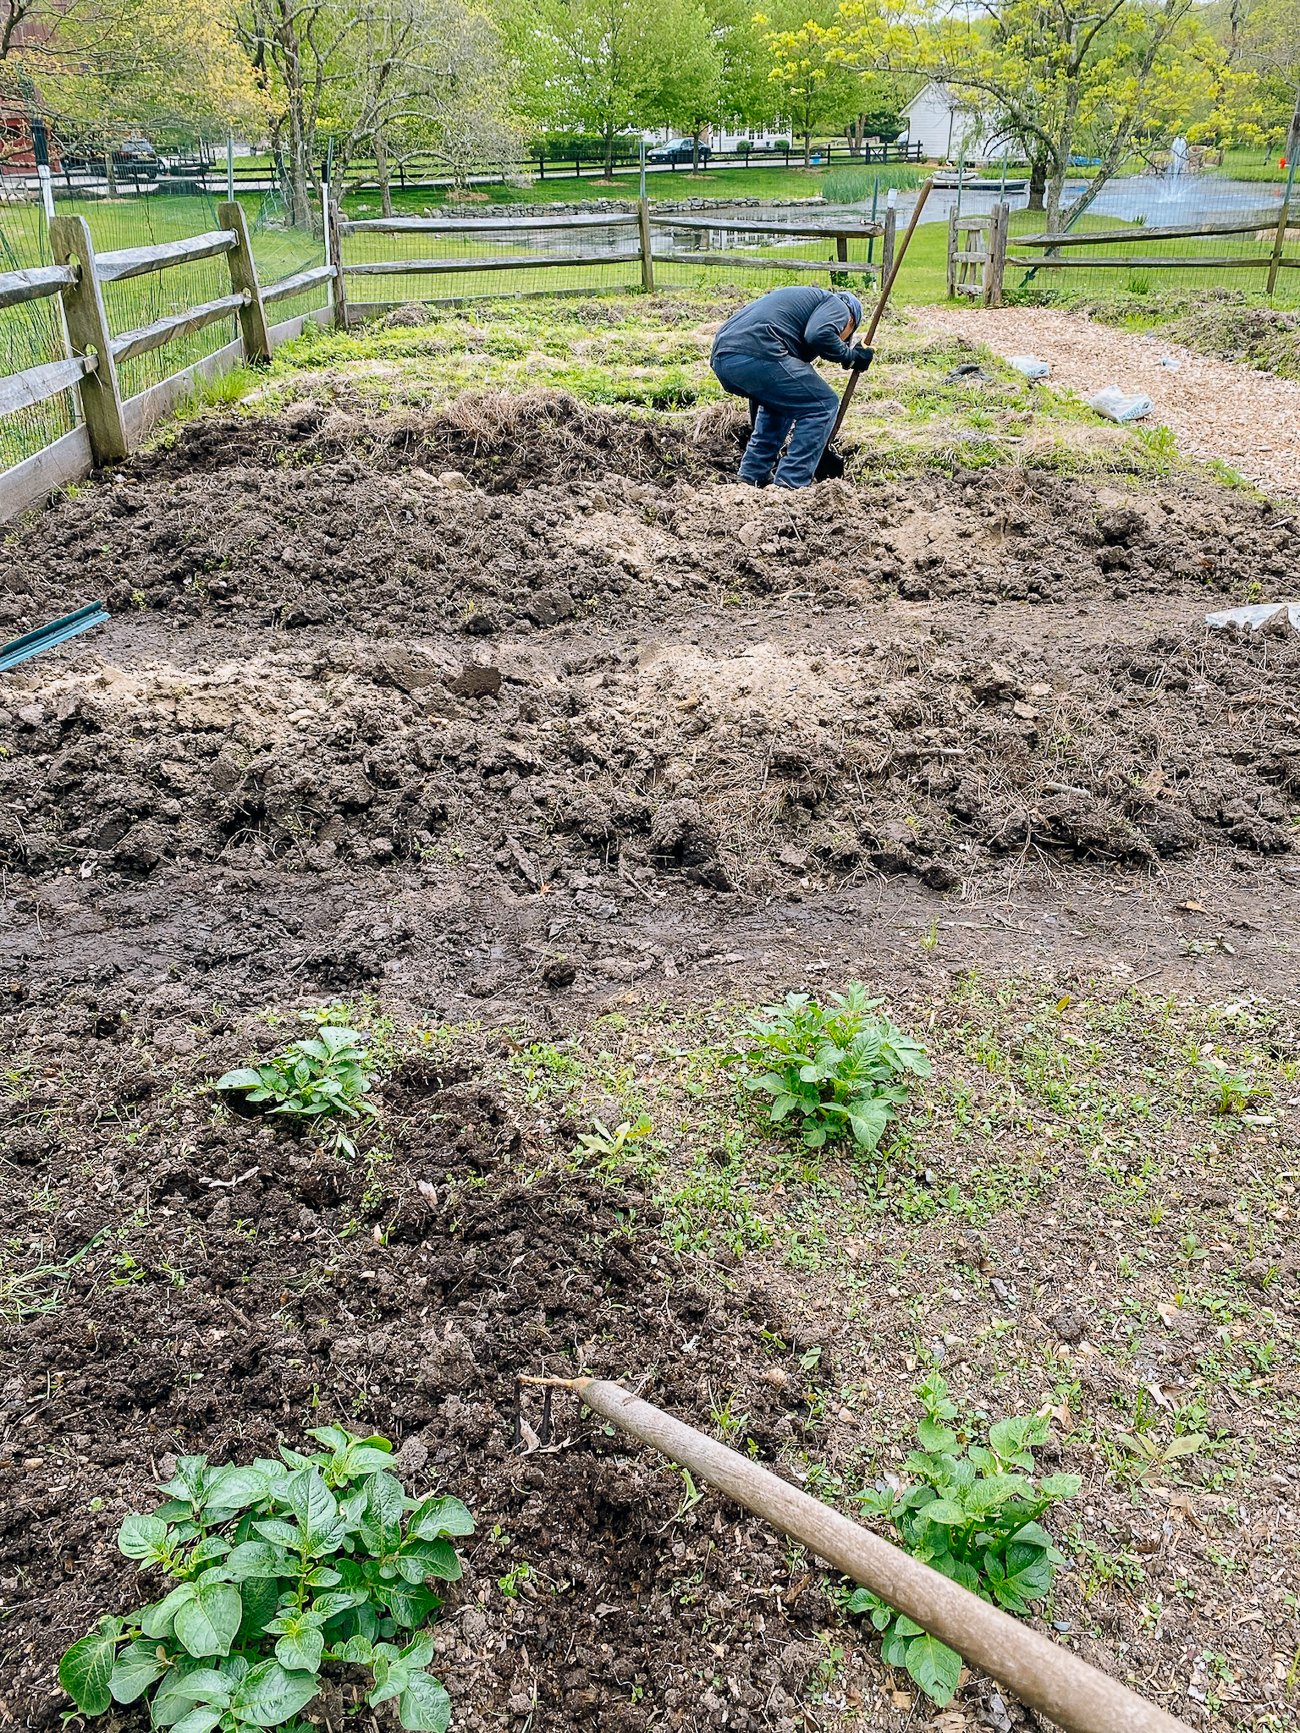
My dad did most of the heavy lifting in clearing out our garden beds last year. As you can probably tell from the photos below, our garden this year is a bit (read: A LOT) bigger than the one we showed in our vegetable garden tour a few years ago.
Our new garden:


Weed blocking fabric went down in the walkways…
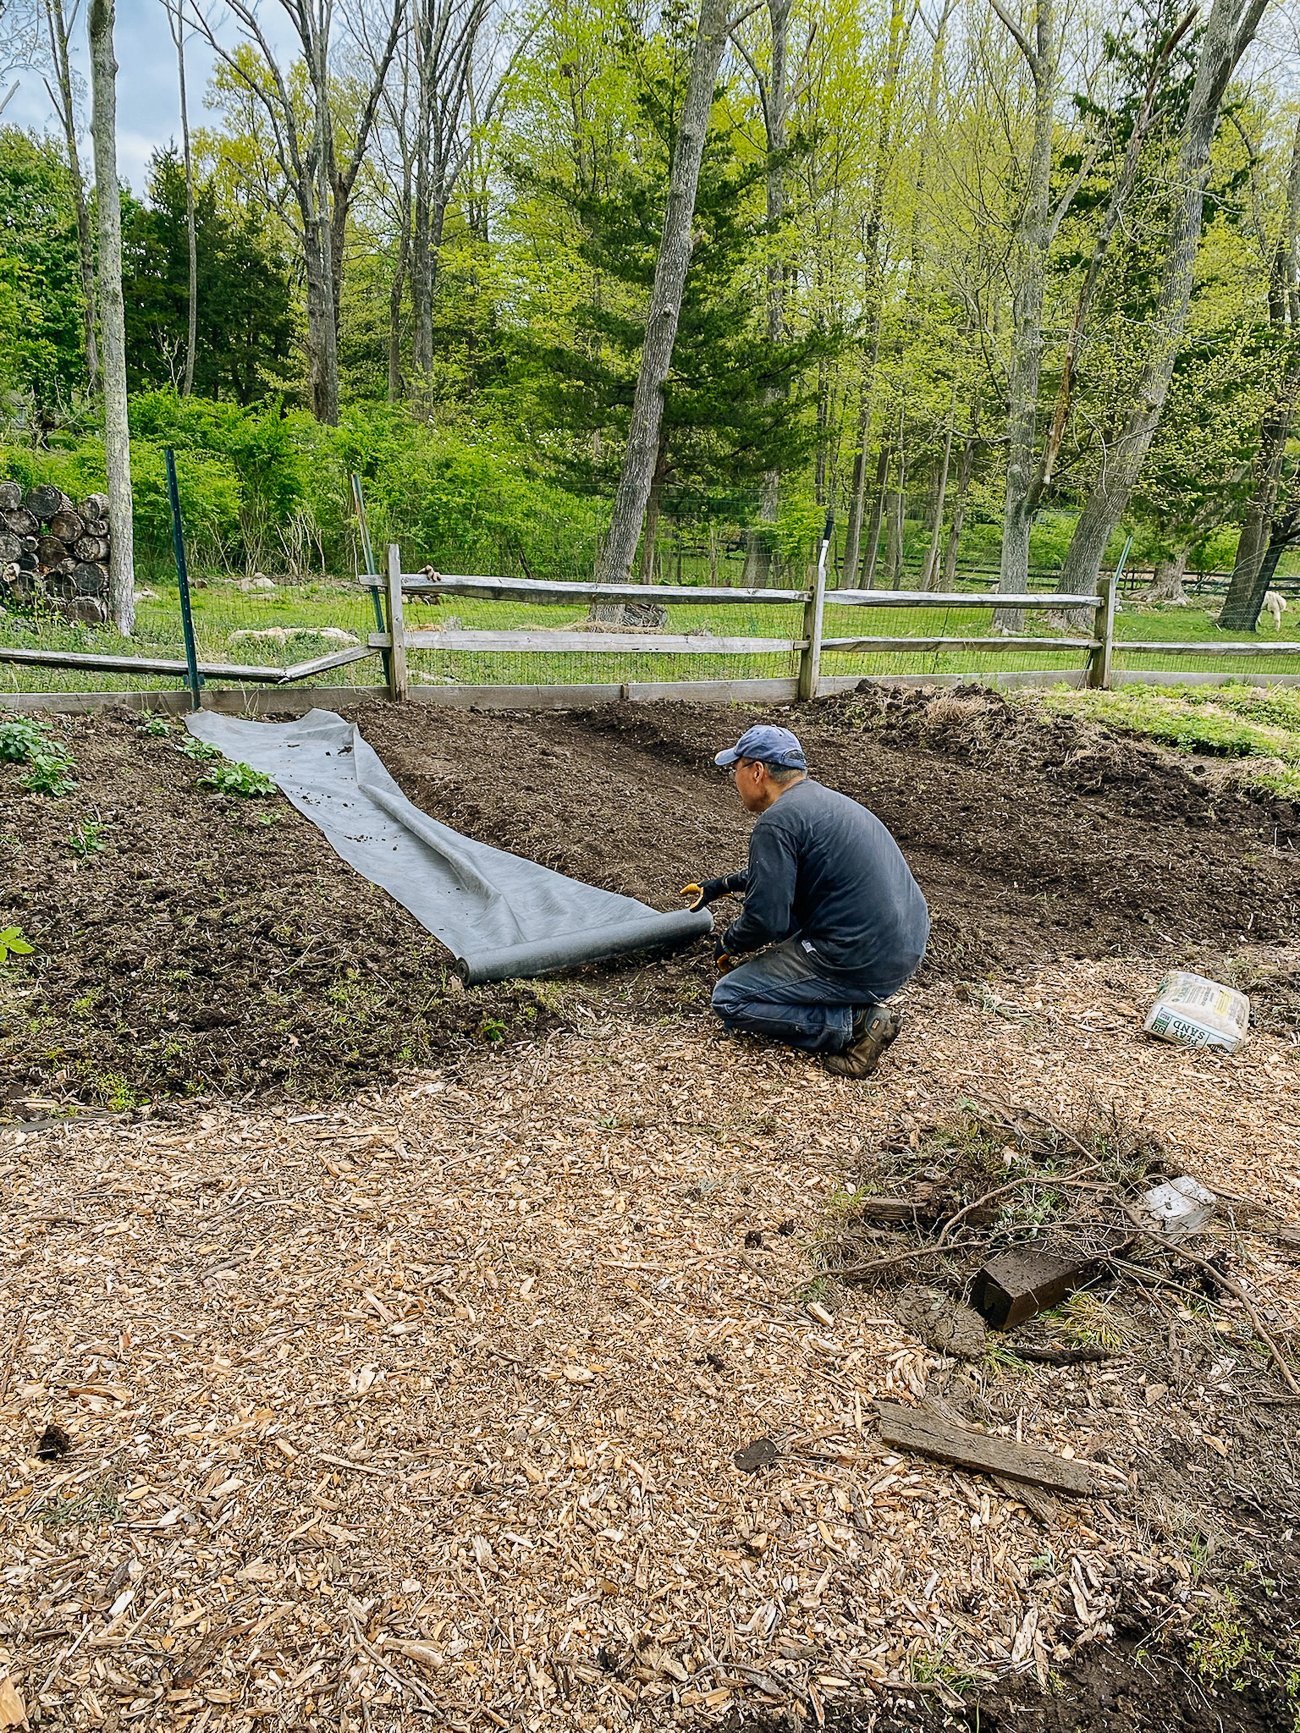
Which we then covered with wood chips (our own chips that we ground from damaged trees we took down earlier in spring).
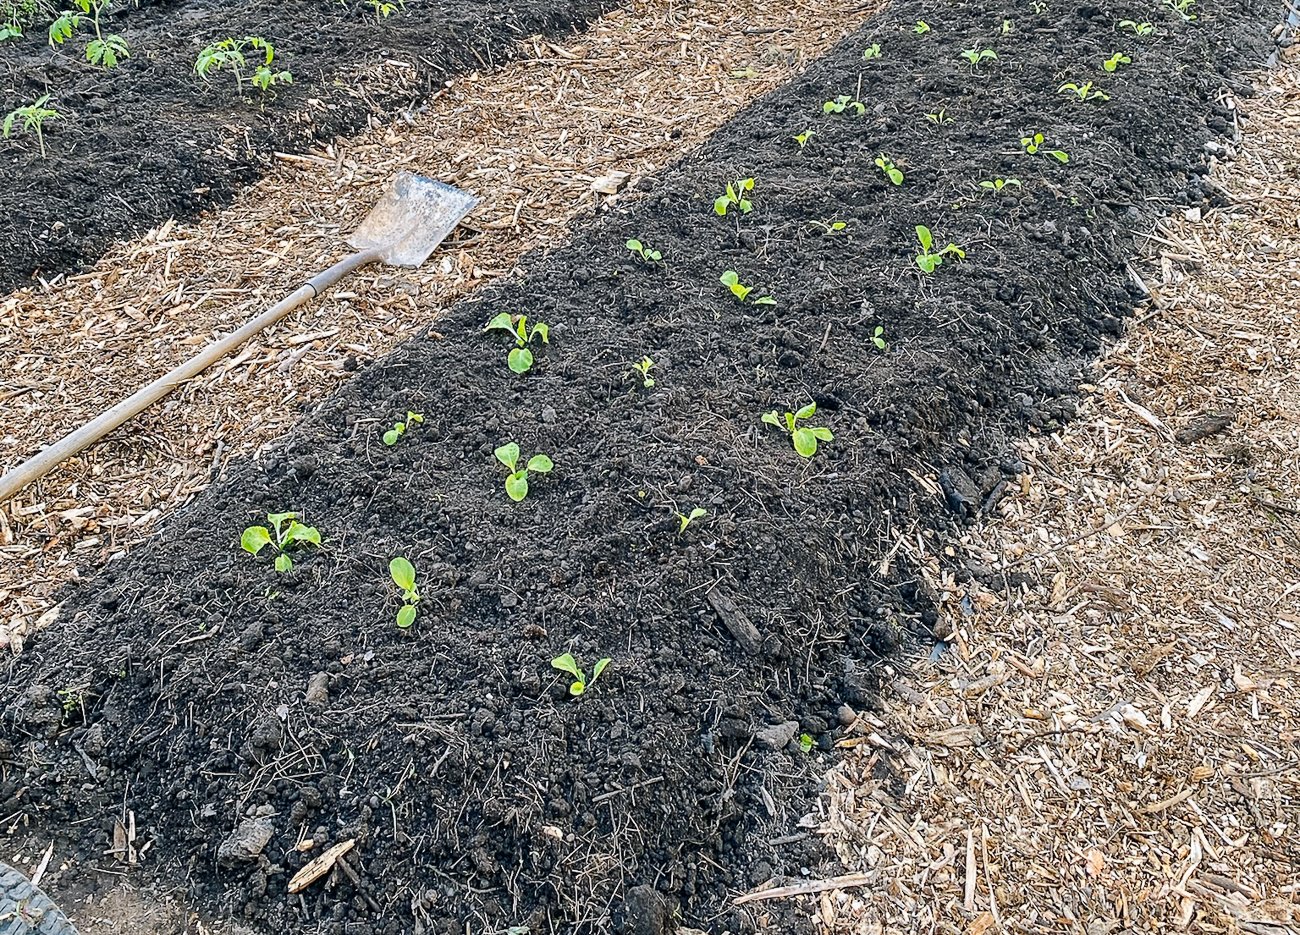
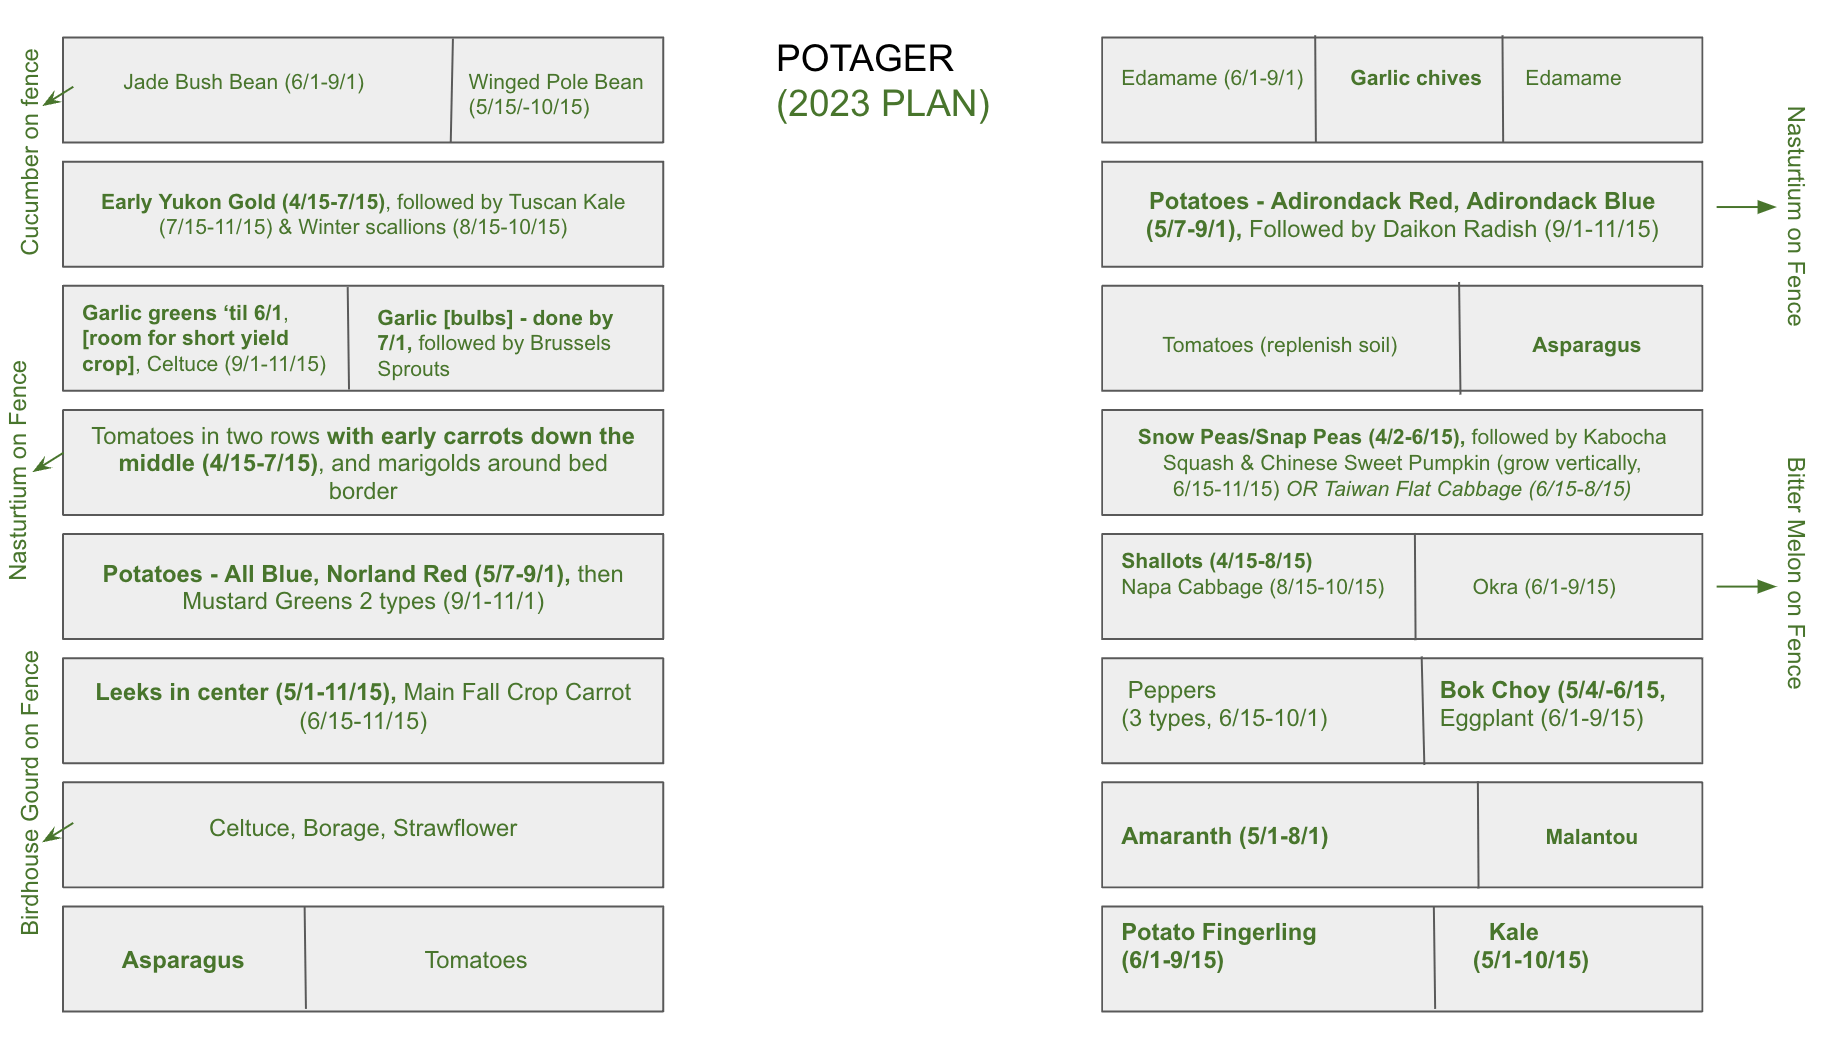
This year, we have a full garden plan that will hopefully maximize the space! The timings are more of a hope than a sure thing, so I’m sure we’ll have to make adjustments as the season goes on.
Transplanting Seedlings
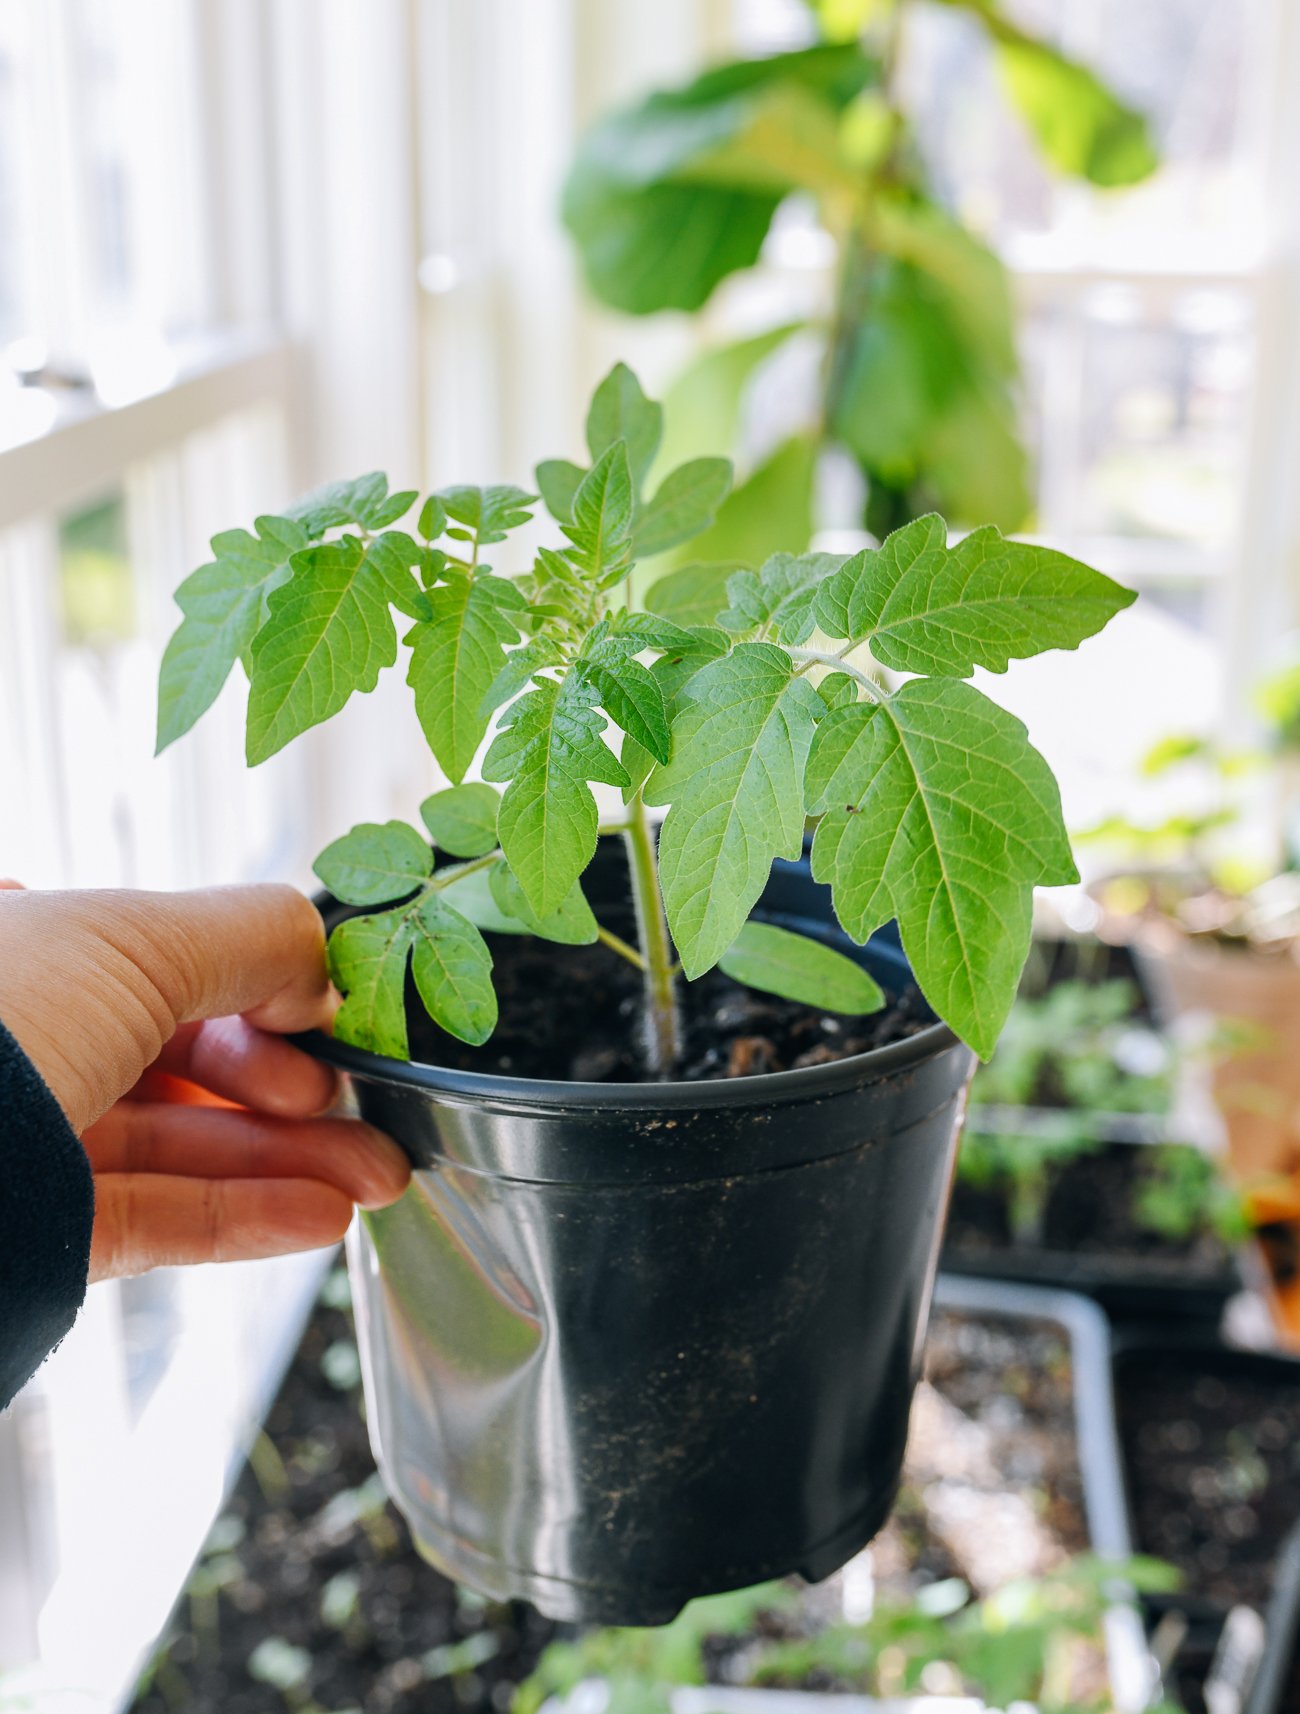
If you grew plants from seed in trays, plugs, or small pots, you will transplant them into the ground when they’re big enough.
A good rule of thumb: plant them out when they have 3 to 4 sets of true leaves, are at least 3 to 4 inches tall, and when all danger of frost has passed.
Peppers, eggplant, tomatoes, bitter melon, and cucumbers are some plants that are best started indoors and then transplanted out into the garden.
Before planting them into the garden, however, you will want to harden off the seedlings.
This basically means putting the seedlings outdoors in a relatively sheltered area, so that they can get used to the sun, wind, and temperature fluctuations throughout the day.
You’ll actually notice that the leaves and stems of the plant will go from more tender to firm/more sturdy.
You can gradually work the seedlings up to longer spells outside, and then just leave them outdoors for 1 to 2 weeks. Avoid starting this process on very windy or rainy days.
To transplant your seedlings, pick a cloudy day or a day when rain is in the forecast. A super sunny day can add extra stress to your plant. Water the seedlings thoroughly, and then make a hole in the soil that’s slightly larger than the seedling’s root ball.
Gently extract your seedling from its vessel. The roots should all hold together. Give the roots a gentle tease to stimulate growth, and then pop the seedling into the ground.
Water the plant thoroughly and deeply for the next few days as it adjusts to its new environment.
Growing in Containers
If you don’t have a yard or patch of soil in your outdoor space, many vegetables (and flowers!) can be grown in containers—even 5-gallon buckets with holes drilled into them!
Even if you don’t have an outdoor space, some veggies can be grown in containers inside!
The key is choosing the right size container. Roots need room to expand. If the container is too small, your plant will stay small and struggle to produce.
However, you don’t necessarily want the container to be too large either. If it’s too big for the plant, it can become a soggy sump, in which the roots can’t take up all the moisture in the pot, causing root rot and poor growth. As the plant gets larger, pot it on into slightly larger containers.
Like with seed starting vessels, fill your pot to the top with soil! Filling it too low allows the rim of the container to cast shade which will slow down growth. If using older soil, add compost before planting.
Small container / indoor suitable plants:
- Bok choy
- Lettuce
- Leafy greens
- All herbs, including scallions and garlic chives
- Chili peppers
Large container & outdoor / direct sun preferred:
- Mini eggplant
- Napa cabbage
- Chili peppers (they can live indoors but would really thrive outside)
- Edamame
Conclusion
Ok, phew. That was a lot of information, but we hope that this post has inspired you to start a vegetable garden this summer.
If this post was a bit overwhelming, remember that you don’t have to have a large garden to start growing vegetables. Pick one vegetable that you’d like to grow, and start in a small raised bed or a container.
It’s actually better to start with something small and manageable rather than biting off more than you can chew! (Over here at The Woks of Life HQ, we’re starting to suspect we may have gone a little overboard, judging by the confusion around sticking to the garden plan.)
All that said, growing these vegetables yourself can not only expand your access to them in areas where they’re not available, it’s an awesome learning experience.
Of course, it’s also incredibly rewarding to cook and eat vegetables that you grew in your own garden.
We’ll be documenting this growing season as it comes along, so we’ll be sure to have more details, tips, and tricks for each crop that you can refer back to year after year. We’ll have our next post in June!
Until then, we’ll keep cooking, recipe developing, and non-stop weeding. Let us know in the comments section below what your most pressing gardening and vegetable-growing questions are!